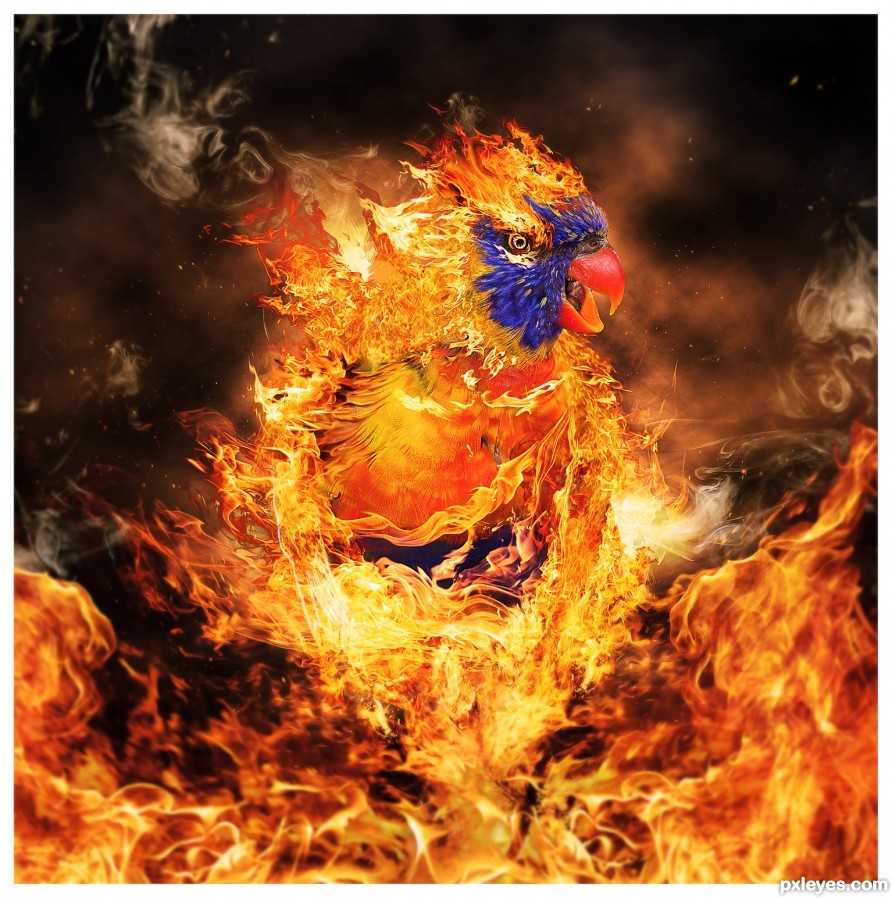
Thought I'd do something different than the usual Phoenix so found a Parrot instead. Hope you like it!
Better in High-Res
(5 years and 2560 days ago)

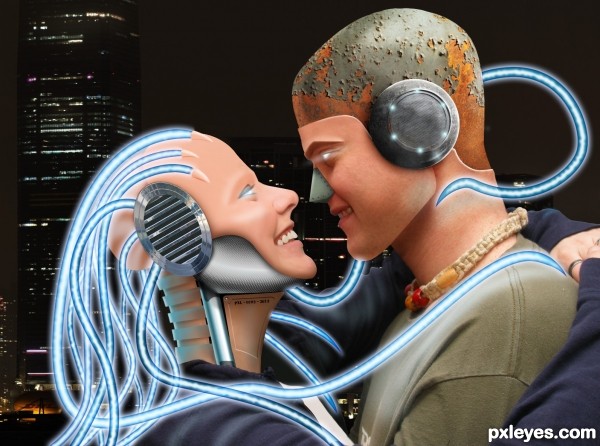
OK Hopefully I'm not off theme - as this was the only image I could find that was close to what i wanted it's not full body but it's a little more than heads and shoulders... (not if you look at the woman though :P )
Anyway - I think high res would be better to view this at..... so check it out!?....
OK so, onto the theme of this concept..... quite simple really, high tech and old tech mixing it up?!.... :) (5 years and 2713 days ago)

please view in high res to see it better.
(5 years and 3984 days ago)

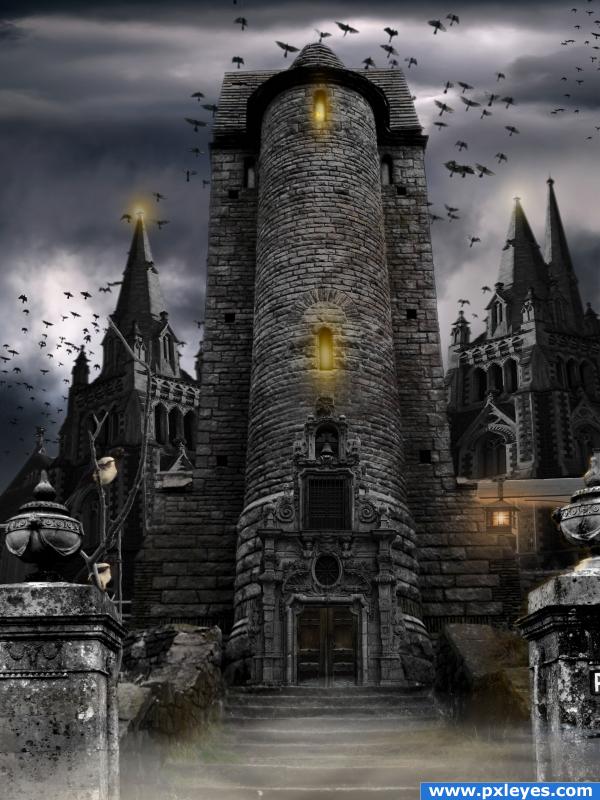
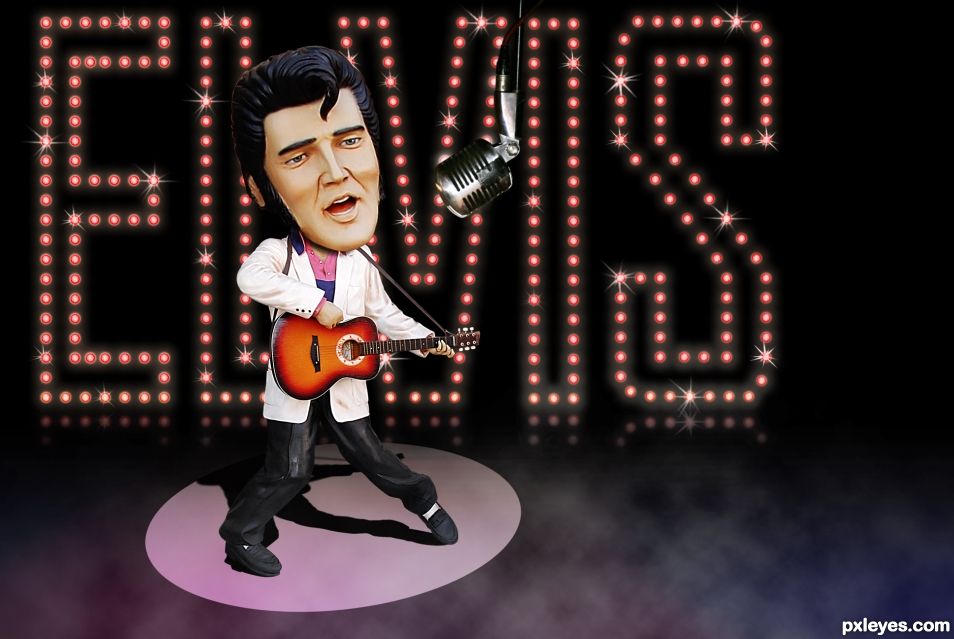
Unfortunately Something went wrong with Photoshop and lost all saves leading to the final comp however the run down for the entry was as follows:-
Step 1: Using the Pen tool I extracted the Figure, clone stamped out the remaining chain and made a general clean-up with the Spot Healing Brush.
Step 2: Duplicated and Enlarged the Head, added neck shadow with a Soft Brush
Step 3: Used a Curves adjustment layer to boost the colour in the Guitar - and give contrast to the Hair - inside mouth - Trousers and Shoes (for the trousers and shoes I lowered the opacity of the brush when painting on the mask)
Step 4: Made a 'lightbulb' using layer styles and using an appropriate font, duplicated and traced around each letter... when I finished I grouped the name, duplicated once again flipped for the reflection - using a layer mask to mask out the bit I didn't want
Step 5: Created the spotlight with the elipse tool, added the shadow and transformed it to the way you see (warp tool mainly)
Step 6: Looked a little flat so added some splashed of colour using the brush tool, gaussian blur, the rendered some Clouds, using a high feather with the lasso tool I picked a selection of the cloud, and enlarge it so it covered the 'ground' - using blend if to knock out the blacks and set to screen - there's actually two layers set to different opacities.
Step7: Only external source used was the Microphone from cgtextures.com
Step8: Set a layer to overlay and painting black and white used it do dodge and burn some details in the face and hair
Step 9: Sharpening of Elvis - highpass set on vivid light.
Step 10: using stock brush... added the sparkles in the lights. (5 years and 2419 days ago)
go to JamesD's profile
Nice! Parrot rising! The flames look great around the bird.
NICE! I would have played a little bit more with the blurred flames at the front to enhance the depth of field effect.
And there are some weird vertical lines at the lower left of the parrot...intensional?
I have a semi noticeable DOF but you can't notice it so much on the flames at the front, I was going to put some floating embers in the foreground but am still undecided on that. I tried to limit the flames in front to focus on the bird more.

The lines you mention are the tips of the parrots wing and tail feathers, they do look out of place but I at least wanted some the wing showing, could probably tone them down abit
Congrats James terrific work
Thank you
Congrats
Thanks
Congrats James!!
Thanks
Congrats!
Thanks
Congrats, James!
Thank you
Howdie stranger!
If you want to rate this picture or participate in this contest, just:
LOGIN HERE or REGISTER FOR FREE