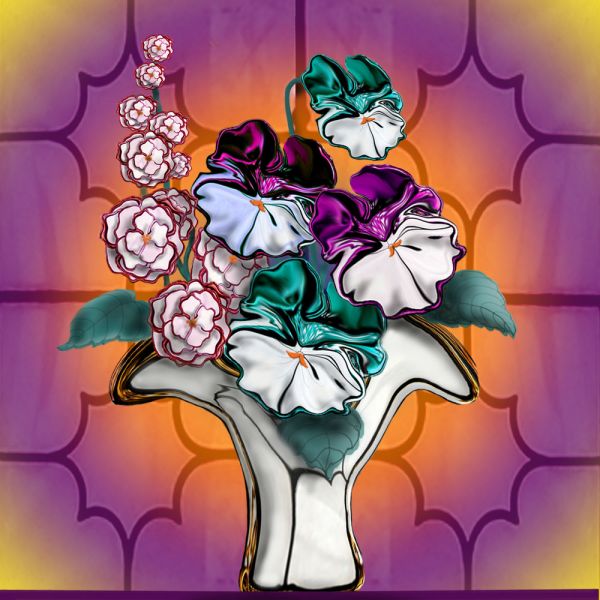
A Work in Progress: Pansy Bouquet


This guide was made for entry:
Pansy Bouquet
In Contest:
chandelier


Original image


step 1 of 9

Vase for bouquet is formed with liquify from chandelier shape, then trimmed with eraser tools.

Creation of Pansy Bouquet: Step 1

step 2 of 9

Here are steps in forming the pansies using the liquify tool and smudge tools, then trimming with eraser tools.

Creation of Pansy Bouquet: Step 2

step 3 of 9

First pansy is placed in the vase after being chopped.

Creation of Pansy Bouquet: Step 3

step 4 of 9

White flower was formed with liquify, then duplicated several times to make additional layers in the flower. Duplicated layers were then scaled a little smaller each time, rotated, then 'piled up' to form the flower cluster. Layers of flower were merged then centers could be added with brush tool.

Creation of Pansy Bouquet: Step 4

step 5 of 9

The background is started here using the glass area of the chandelier. It ewill be distorted into a square shape to be duplicated 3 more times.

Creation of Pansy Bouquet: Step 5

step 6 of 9

The duplicated pieces are merged together, using distort and scale tools to get them fitted together.

Creation of Pansy Bouquet: Step 6

step 7 of 9

Gradient layer at 76% is added over background in colors complementary to the flower colors.

Creation of Pansy Bouquet: Step 7

step 8 of 9

Another leaf is added. Leaves are drawn with brush at a small, hard setting, then filled in with airbrush. Veins are drawn in using a very small burn tool. Shadows are made with the burn tool also.

Creation of Pansy Bouquet: Step 8

step 9 of 9

Final step is to add shadows throughout the bouquet with the burn tool. A light source must be created since no natural light source is there.

Creation of Pansy Bouquet: Step 9

Final result

Creation of Pansy Bouquet: Final Result

LOGIN or REGISTER FOR FREE
to rate this guide and create your own guides.

Votes


uservoted
loopyluv
lchappell
Mairissa
Score:
9.33