Globe is chopped from source, raised to higher resolution and moved onto a new canvas.
step 4 of 11
Collar is chopped and added from greenhouse source photo. Collar will be sized with scale tool, then shaped with distort tool to fit girl.
step 5 of 11
Girl's face is now chopped and added. Sunglasses will be removed in a later step using paintbrush tool. Face is very pixlized and will have airbrush tool used to get rid of pixlation.
step 6 of 11
Here the globe is fit to girl's head by using liquify, distort and scale tools.
step 7 of 11
Collar is reshaped with perspective and scale tools, hair 'pulled' above her head using brush tool
step 8 of 11
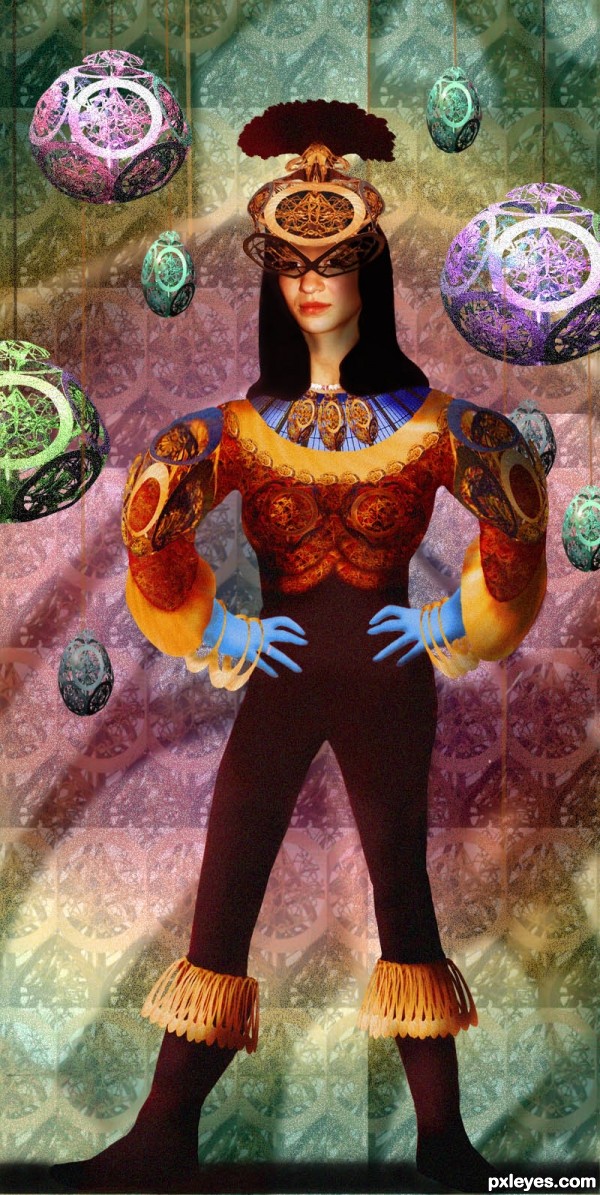
Here I decided to do more than just the girl's head so brought her entire body in to chop. Her arm on hip is duplicated and flipped to other side to be attached. The background is made by creating a 'pattern' (edit/define pattern) from the globe. Scale is taken to small size so that there is a pattern repeat. Color is placed behind pattern layer (Layer/new fill layer/gradient). Then pattern layer is reduced in opacity to allow color to show through.
step 9 of 11
Girl's red sweater has been trimmed close to body and trims are made from copper colored circle in globe source. Scale, distort, and perspective tools help fit the circle pieces to her collar and cuffs, and to make ornaments for her collar.
step 10 of 11
Blue gloves to match her collar are brushed onto her hands; Distorted globes are added to arms, copper circles distorted are added as trims to boots. Her shirt is decorated first by cloning circle designs from globe, then shaping with burn tool. Bracelets are made from copper circle, also w distort and eraser tools.
step 11 of 11
Source photo used for face to replace original very pixlized face.