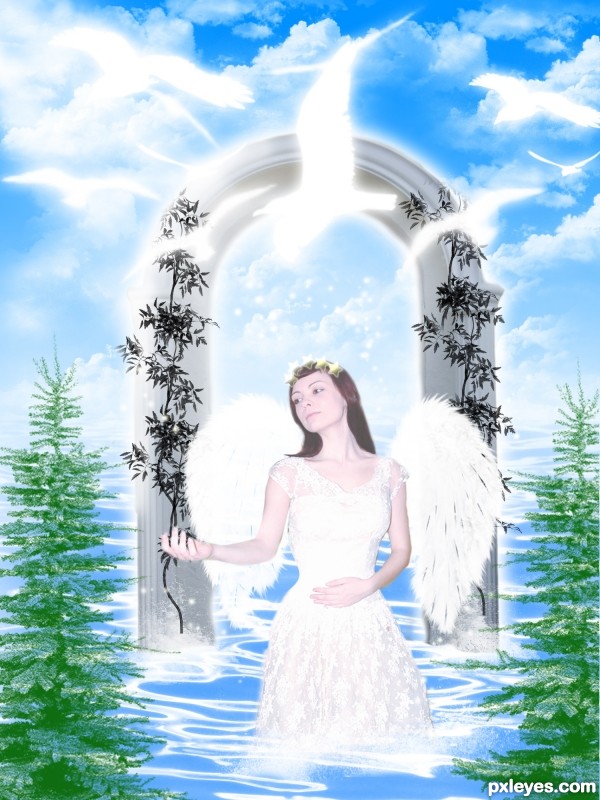
A Work in Progress: Angel on the gates of heaven


This guide was made for entry:
Angel on the gates of heaven
In Contest:
mixed manipulations 11


step 1 of 14

Open a new document of which ever size you like and then use a foreground to background gradient. In the gradient colors palete chose a sky blue foreground and white background. Using a linear gradient apply it and then start adding clouds brushes as the way you like.

Creation of Angel on the gates of heaven: Step 1
sources used for this step:

step 2 of 14

Then apply water from the water brush sets as I did below.

Creation of Angel on the gates of heaven: Step 2
sources used for this step:

step 3 of 14

Open the image of whoever you like, I opened the image of this lovely girl and cut it using the pen tool. Thanks to cyber-stock of deviant art for providing this lovely Girl.

Creation of Angel on the gates of heaven: Step 3
sources used for this step:

step 4 of 14

After cutting your image from the back ground make sure you cut those edges fine so that it does not looks fake. And then use a selective color adjustment to this image by going to Image>>Adjustments>>Selective color. Adjust the colors like I did below.

Creation of Angel on the gates of heaven: Step 4

step 5 of 14

Then open the castle door image and cut it with your favourite tool, just exactly the way I did below and place that layer below our Angel.

Creation of Angel on the gates of heaven: Step 5
sources used for this step:

step 6 of 14

Using those water splatter brushes apply it exactly the way I did below. You can rub the extra or unwanted splatters. Be creative on your own in this....:)

Creation of Angel on the gates of heaven: Step 6

step 7 of 14

Apply ray brushes to the image just the way I did below and even apply color dodge to make it look more realistic. Thanks to Obsidian Dawn for providing it.

Creation of Angel on the gates of heaven: Step 7
sources used for this step:

step 8 of 14

Now in this step you will learn the technique of creating sparkles. Open the brushes window and choose a white foreground color, then change the scattering and brush spacing the way you like and apply it just like I did below.

Creation of Angel on the gates of heaven: Step 8

step 9 of 14

Add some trees and plants Just like I did below. Ofcourse this step depends upon your own creativity. Thanks to Falln brushes of Devianart for providing it.

Creation of Angel on the gates of heaven: Step 9
sources used for this step:

step 10 of 14

Now add the stars by applying the star brushes the way I did below to make her look even more angel.

Creation of Angel on the gates of heaven: Step 10
sources used for this step:

step 11 of 14

Its time to give a more better look to the image so that it looks more like heaven. To do that, use birds brushes which are provided by Obsidian Dawn. Apply it just like I did below and give it an outer glow by double-clicking on the layer and ticking the outer glow. Thanks to Obsidian Dawn for birds brushes.

Creation of Angel on the gates of heaven: Step 11
sources used for this step:

step 12 of 14

Apply feather brush and place this layer below our angel.

Creation of Angel on the gates of heaven: Step 12
sources used for this step:

step 13 of 14

Apply some of your own creative art and then you are done. Adjust some brightness and contrast of your final image or you can even add some color balance and you could end up with a better work than me.

Creation of Angel on the gates of heaven: Step 13

step 14 of 14

This is the final Image that I got...........Enjoy and dont forget to vote me...:)

Creation of Angel on the gates of heaven: Step 14

Final result

Creation of Angel on the gates of heaven: Final Result

LOGIN or REGISTER FOR FREE
to rate this guide and create your own guides.