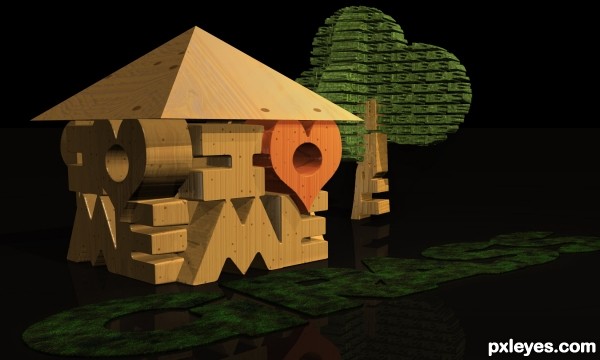
A Work in Progress: Home is where...


This guide was made for entry:
Home is where...
In Contest:
typography fun


step 1 of 11

Steps 1 - 4 apply to all text in this entry.

Created a text file in Photoshop (see step 8), opened a new terrain in Bryce and applied this text to it.
1: terrain button
2: preview with material applied, see step 6

Creation of Home is where...: Step 1

step 2 of 11

Created a new cube and made it the size of the terrain object. just the height is smaller.

1. new cube
2. the terrain object with text

Creation of Home is where...: Step 2

step 3 of 11

The terrain is set to positive and the cube to negative. This because the terrain has got an nontransparent background, the negative cube will take that away when both are grouped.

Creation of Home is where...: Step 3

step 4 of 11

Rendered front view from the combined cube and terrain object.

Creation of Home is where...: Step 4

step 5 of 11

Copied the combined objects 3 times and rotated them, placing them in a square.

Creation of Home is where...: Step 5

step 6 of 11

The in program texture applied to 'Home', 'Tree' and roof.

Creation of Home is where...: Step 6

step 7 of 11

Applied in program texture of the 'leaf'

Creation of Home is where...: Step 7

step 8 of 11

Text file made in Photoshop.

Creation of Home is where...: Step 8

step 9 of 11

Text file made in Photoshop.

Creation of Home is where...: Step 9

step 10 of 11

Text file made in Photoshop.

Creation of Home is where...: Step 10

step 11 of 11

Text file made in Photoshop.

Creation of Home is where...: Step 11

Final result

Creation of Home is where...: Final Result

LOGIN or REGISTER FOR FREE
to rate this guide and create your own guides.

Votes


uservoted
mircea
Score:
10