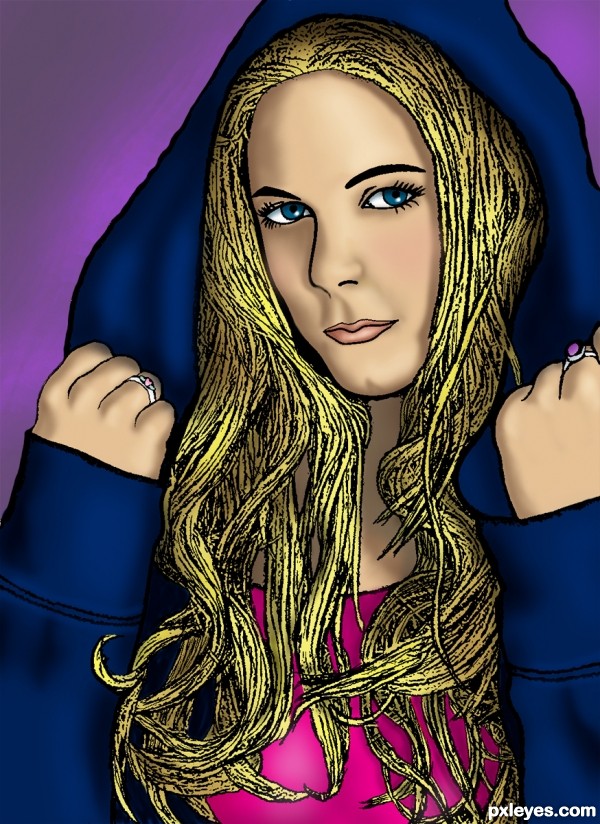
A Work in Progress: Not So Tough


This guide was made for entry:
Not So Tough
In Contest:
cartoon effect


step 1 of 6

After looking at a bunch of tutorials and watching a bunch of videos, this seems to be the most common techniques used.

Start with your photo, duplicate it and change the layer mode to color dodge. Then invert the image (Ctrl + i) and use gaussian blur set to 5.

Creation of Not So Tough: Step 1

step 2 of 6

Now add an adjustment layer. Layer > New Adjustment Layer > Threshold and set it to 234.

Creation of Not So Tough: Step 2

step 3 of 6

Directly under the Threshold adjustment layer, I added 2 more layers and labeled them "black" and "white". I used a black brush on the Black layer to make some of the lines stronger (Brush > Dry Media > Conte Pencil on Bumpy Surface) and a white brush on the White layer to erase some of the lines.

Creation of Not So Tough: Step 3

step 4 of 6

Now its time to paint. Add layers above the Threshold adjustment layer and label them "Eyes", "Lips", "Skin", ect. Change the layer mode to multiply so that the black lines show through.

Creation of Not So Tough: Step 4

step 5 of 6

Add shading with additional layers, leaving the light colors on normal mode and the dark colors on multiply. If you're not sure where to paint, put your original image at the top of the layers column and reduce the opacity to about 45%. This will be your guide.

Creation of Not So Tough: Step 5

step 6 of 6

Flatten the layers and then put a background behind it.

Creation of Not So Tough: Step 6

Final result

Creation of Not So Tough: Final Result

LOGIN or REGISTER FOR FREE
to rate this guide and create your own guides.