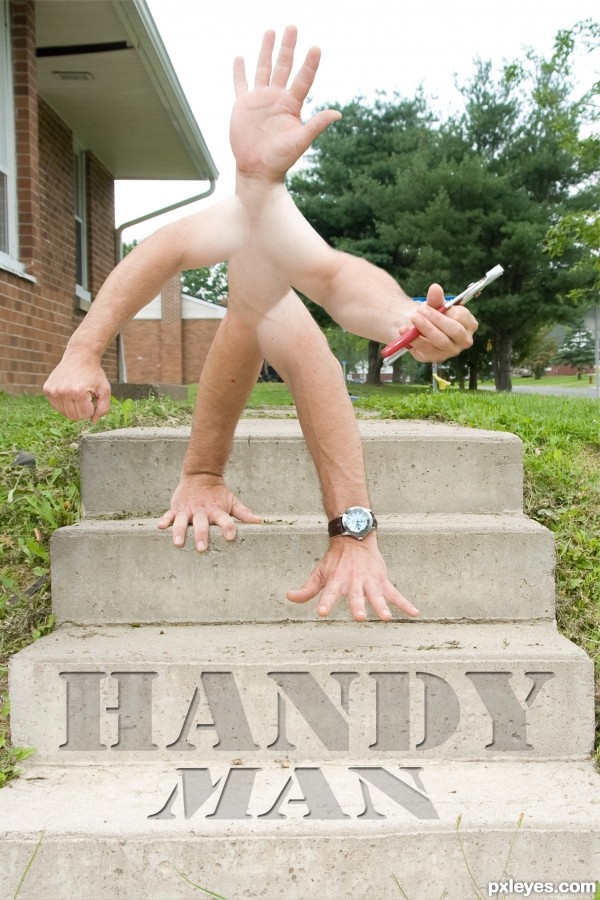
With my camera on a tripod, and using the self timer, I took a photo of This uncluttered backdrop and five hand and arm images. I used the same setting so that each image would be lit evenly and with the light coming from the same direction.
step 2 of 22
After the Background photo, I took what would later become the neck / head hand photo.
What is not seen in these photos, is the penny placed on the step after each shot, so that there would be a quick reference point after resetting the camera timer and returning to take the next photo. Once the elbow was in position, the penny was retrieved before the timer expired and the shutter released.
step 3 of 22
Next the first leg photo was taken, then penny replaced. Off to the camera and the process continued.
step 4 of 22
Each time I returned to the camera, I took a quick look at the histogram to ensure lighting remained equal.
A quick glance to the sky to make sure no clouds were going to block the sun in the next 10 seconds, then I photographed what would become Leg / Hand 2.
step 5 of 22
Now for the First Hand / Arm photo, and another 10 second dash.
step 6 of 22
"Handy Man" was in my head before I began shooting, of I grabbed a wrench as a prop this time and followed my previous procedures to photograph Hand / Arm 2, the last of the photography steps.
step 7 of 22
Once captured, I downloaded my images with Adobe Bridge, and checked each to ensure I was happy that no adjustments to levels were needed. I renamed them to make it easier to identify them for Layer Masking later.
step 8 of 22
I then opened all six images in Photoshop seen here in Tile Mode.
step 9 of 22
I then Dragged and Dropped all Photos onto my Background Photo.
step 10 of 22
And renamed the Layers to easily Identify them while masking later.
step 11 of 22
Turning Off the viability for the Top Layer, I then used the Quick Select Tool to select the Arm and Hand in the next Layer Down.
step 12 of 22
Once Selected, I turned on the Visibility for the top Layer, made that my Active Layer again, went to menu SELECT > INVERSE SELECTION.
step 13 of 22
Then from the Layers Pallet, at the bottom I clicked on the "Add Vector Mask" Icon (It's the Square with a Circle in it). This revealed the selection of the arm I had made on the next layer down. Using the Paint Brush tool, I then did some edging clean-up along the newly revealed arm, by using a Black Foreground Colour to Paint away portions of the Top Layer, and White Foreground Colour to Paint other portions back. Small Soft edge brushes work best for this.
step 14 of 22
Once Happy, I right click on the top layer in the layers pallet and select Apply Layer Mask.
step 15 of 22
Next with the Top Layer in the Layers Pallet still selected, hold down the shift Button and click on the next layer down. This selects both layers.
step 16 of 22
Right Click on one of those two selected Layers and choose "Merge Layers"
step 17 of 22
Go to the Layer > Layer Style menu selection, and select Bevel Emboss. Change the settings as shown or to your preference.
step 18 of 22
Create another Text Layer this time spelling Man. Right click on that text layer in the Layer Pallet and select Rasterize.
step 19 of 22
Now got to the Menu EDIT >TRANSFORM > Distort and drag the layer handles to add some perspective. Hit Enter when Done and reduce the FILL Opacity from the Layer Pallet Menu to 17%
step 20 of 22
Right Click on the HANDY Layer Pallet and click COPY LAYER EFFECT
step 21 of 22
Right Click on the MAN Layer in the Layer Pallet and Click Paste Layer Style