A Work in Progress: Yin yang planet


This guide was made for entry:
Yin yang planet
In Contest:
ps tournament 5 round 2


step 1 of 7

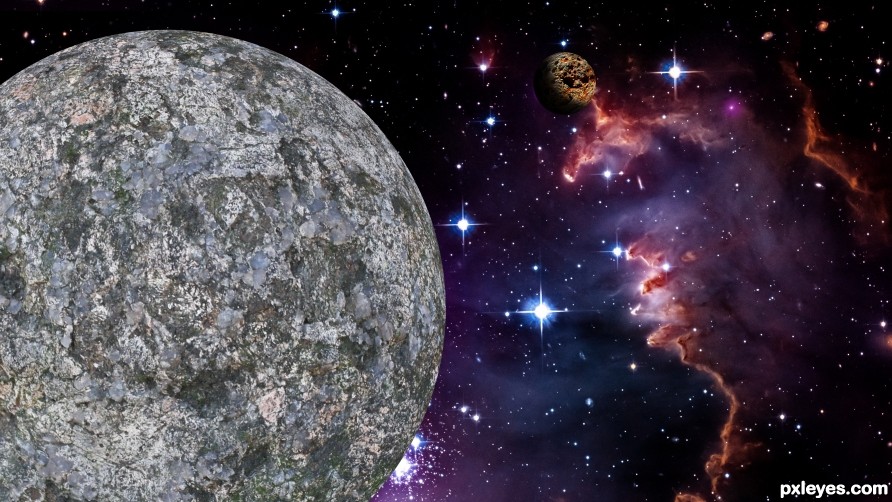
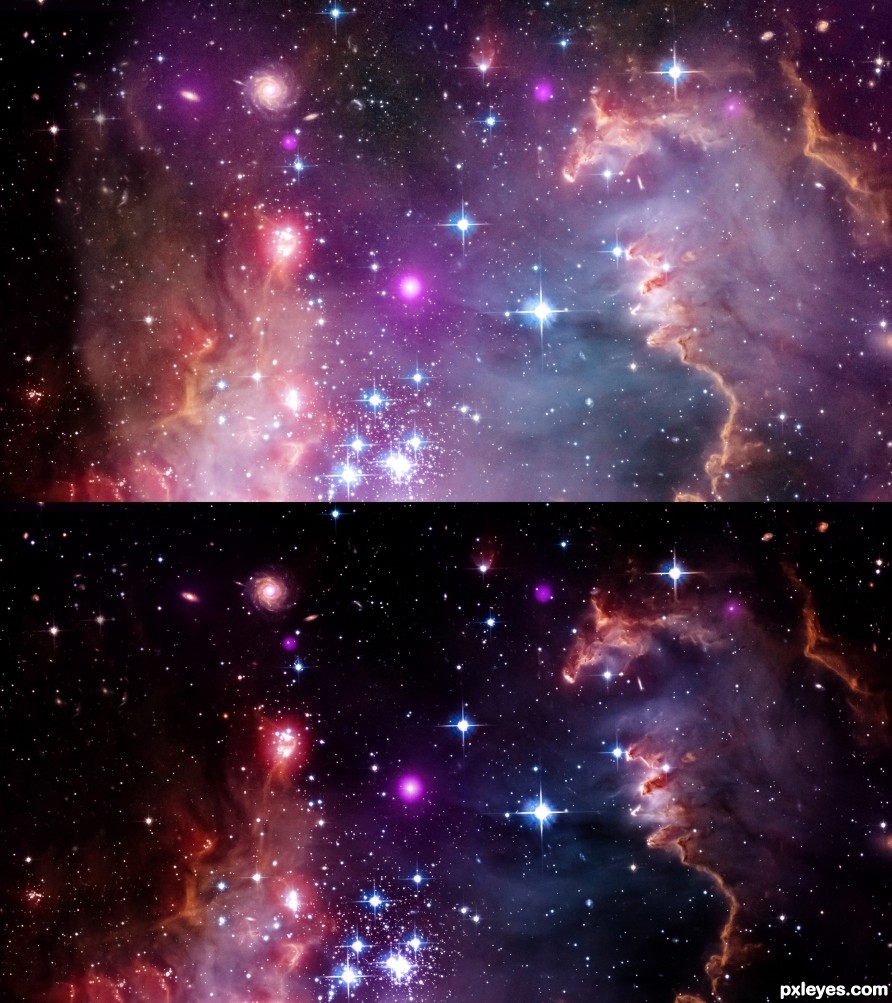
I used picture of NASA as background.
Made it look darker by setting levels, Hue/Saturation. Also duplicated the layer and changed the blend mode to multiply
Creation of Yin yang planet: Step 1
( hi-res )

step 2 of 7

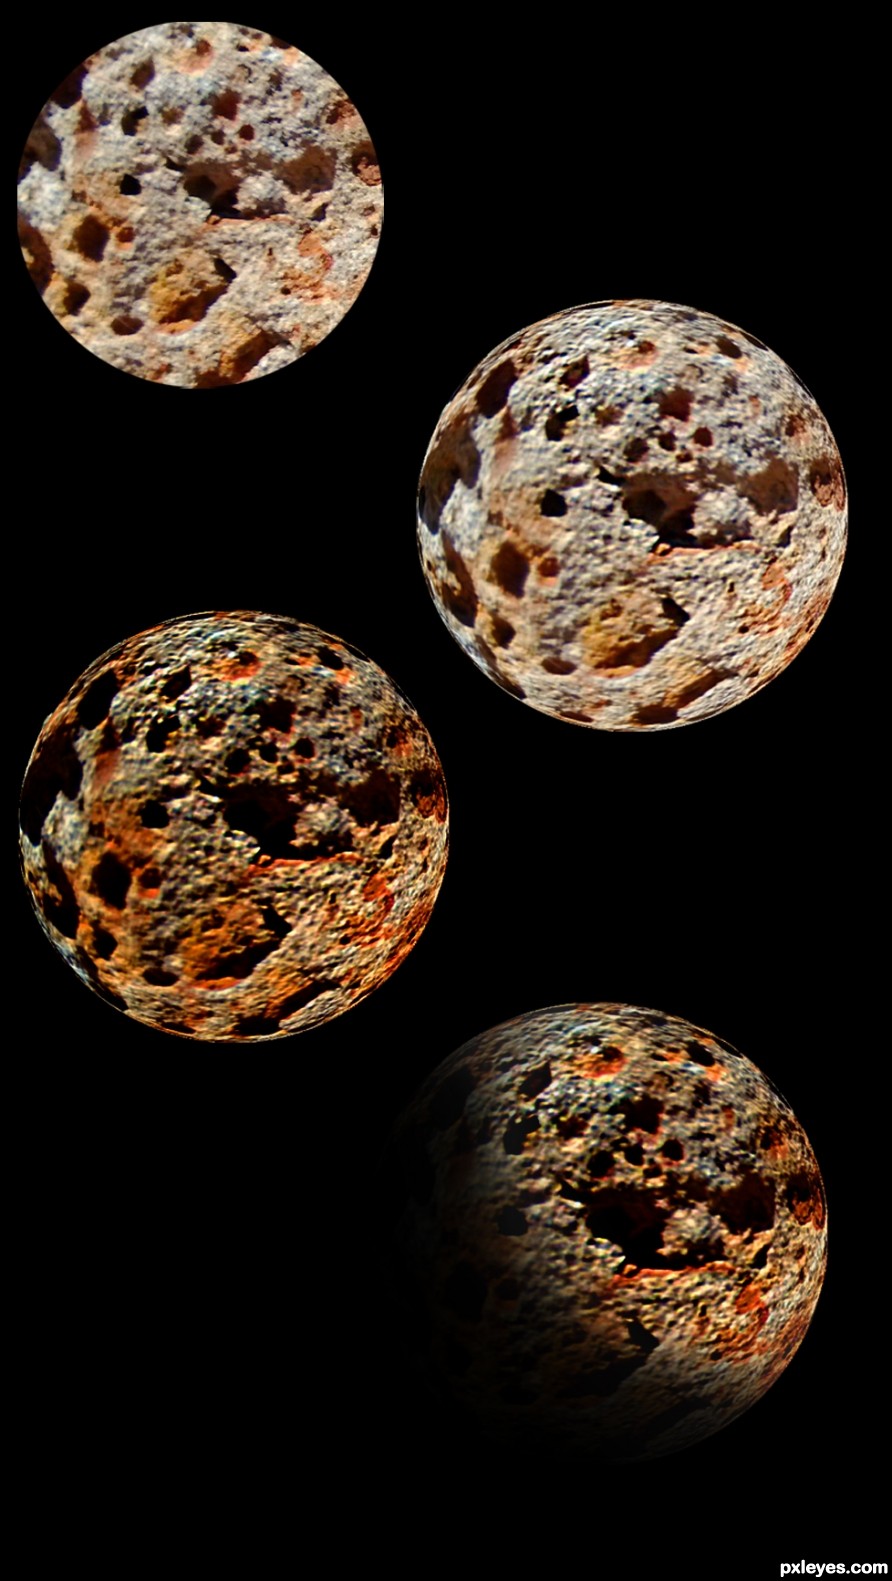
1. Chose a nice piece from the texture for the moon
2. Applied spherize filter twice
3. Set hue/saturation+levels
4. Made a shadow

Creation of Yin yang planet: Step 2
( hi-res )

step 3 of 7

Took a piece of the other texture and apllied spherize filter again twice

Creation of Yin yang planet: Step 3
( hi-res )

step 4 of 7

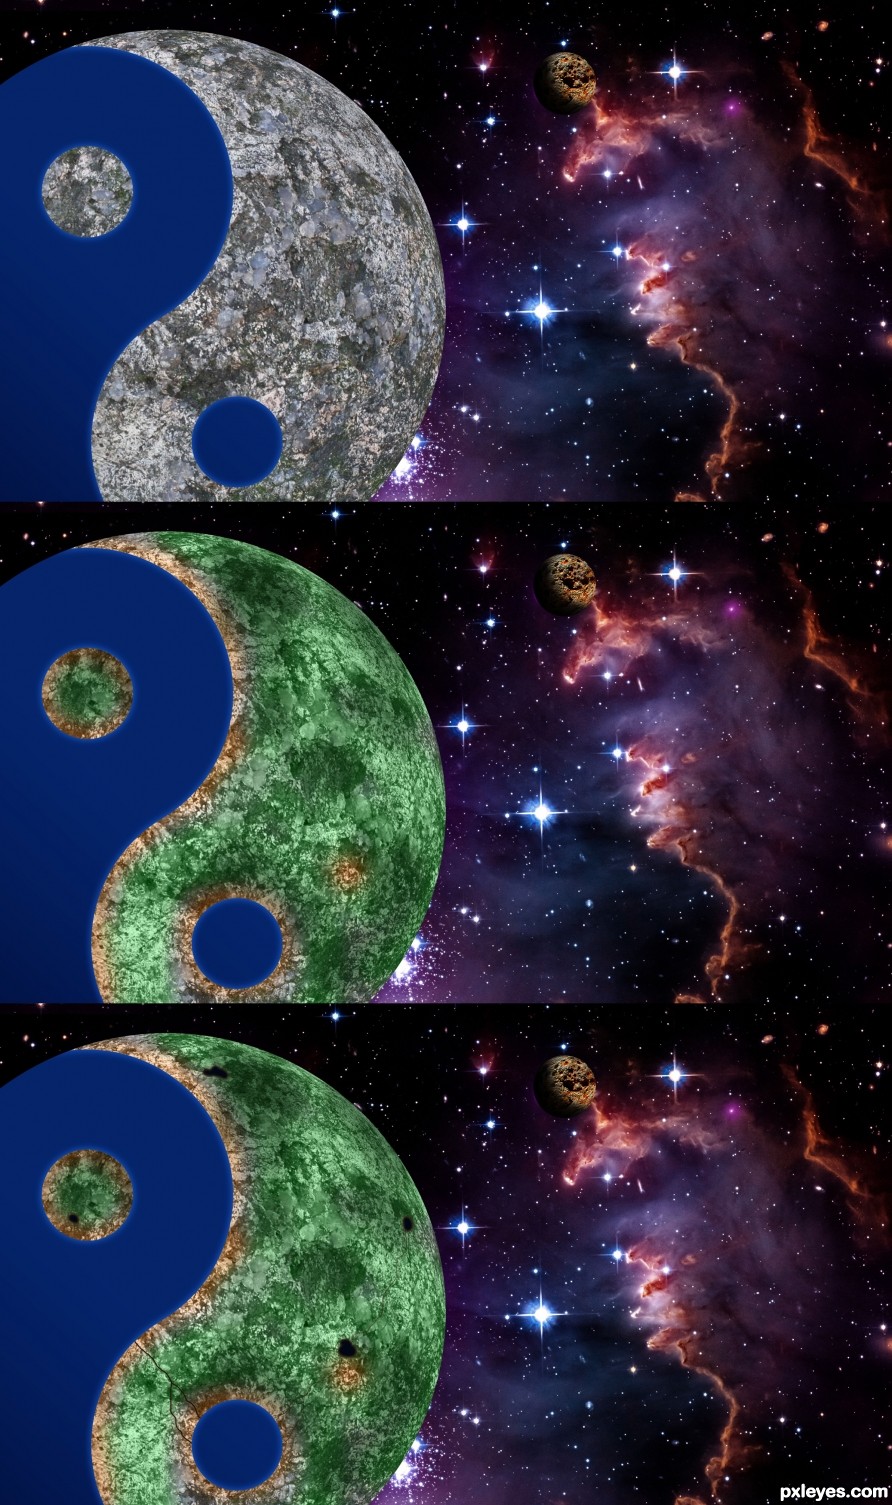
Used the allowed yin yang image to mask other half away and colored it blue. Painted the colors with photoshop's basic brushes on several layers. I also drew some small rivers and lakes

Creation of Yin yang planet: Step 4
( hi-res )

step 5 of 7

Added a shadow on the planet and drew some lights with basic brushes and blurred them a bit

Creation of Yin yang planet: Step 5
( hi-res )

step 6 of 7

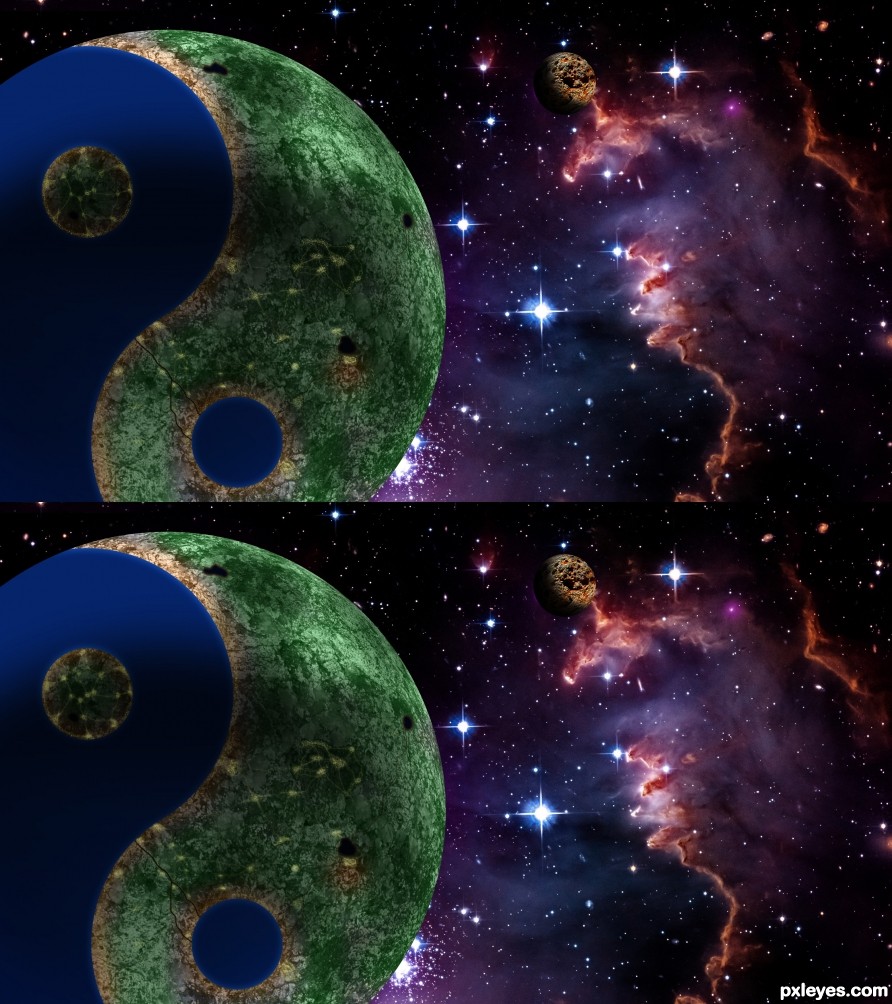
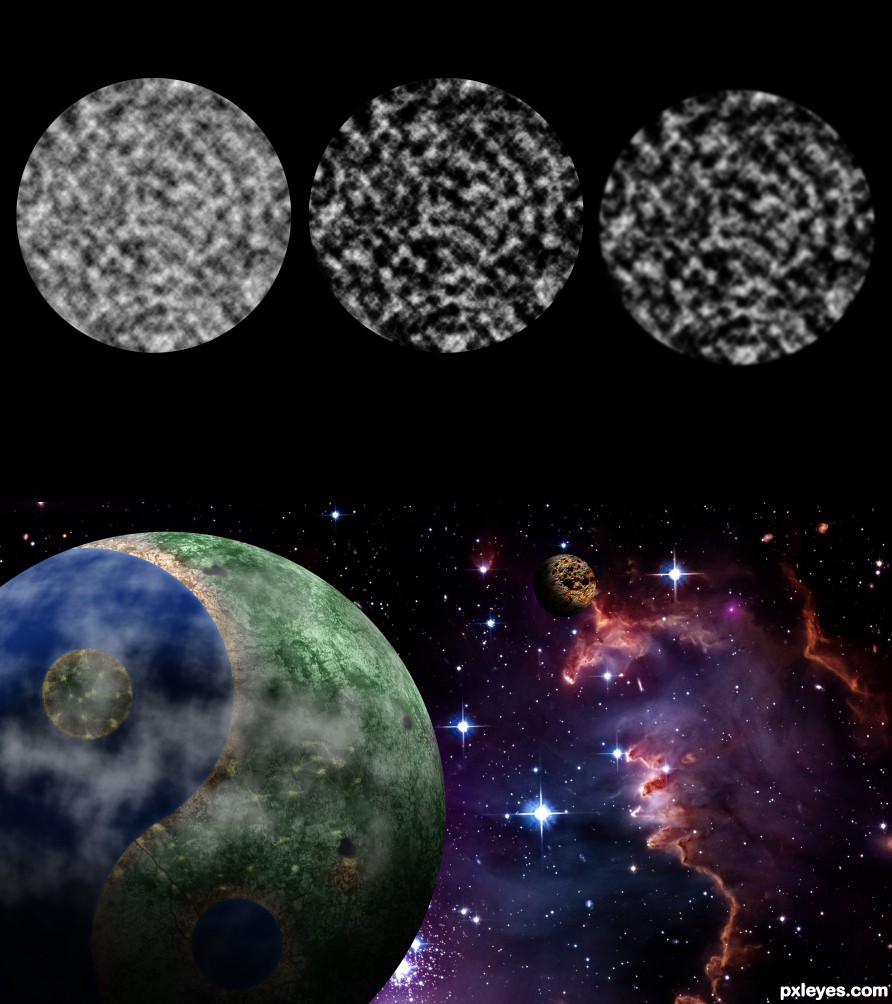
Clouds:
Applied Clouds filter a few times.
Erased black areas and blurred it.
Masked it almost transparent and added more shadows on the planet

Creation of Yin yang planet: Step 6
( hi-res )

step 7 of 7

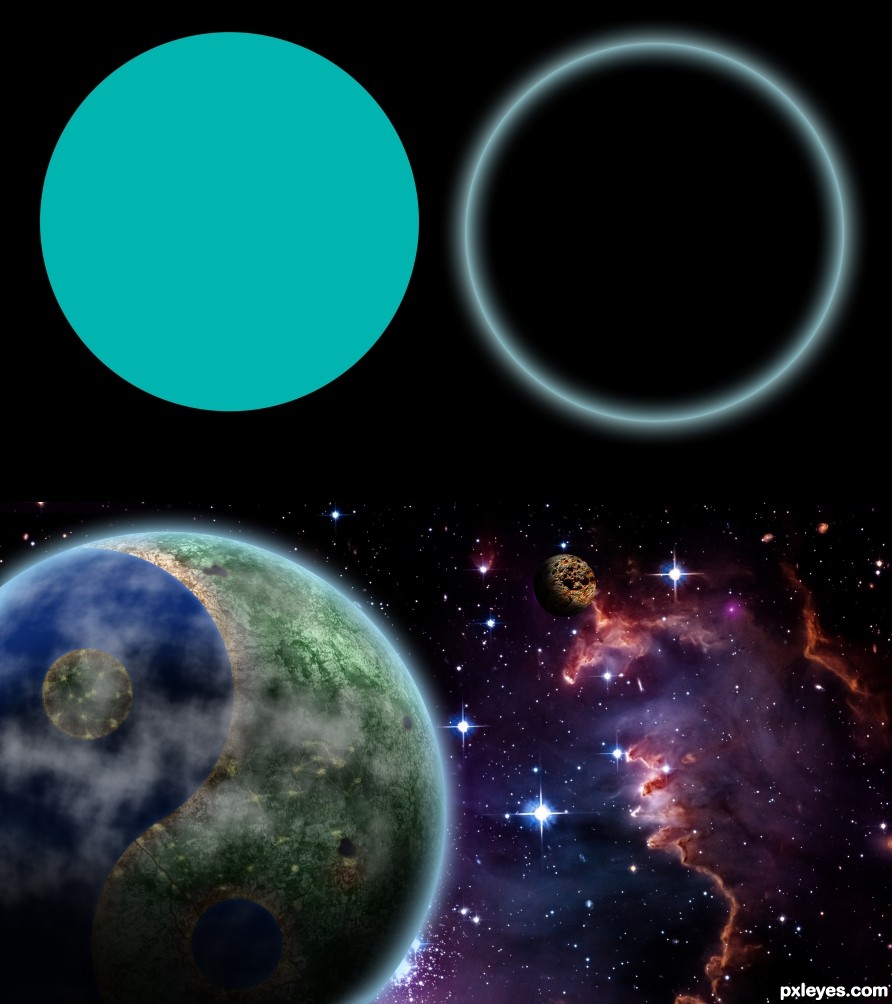
Atmosphere:
Made as big circle as the planet. Made the fill to 0% and gave it inner and outer glow

Creation of Yin yang planet: Step 7
( hi-res )

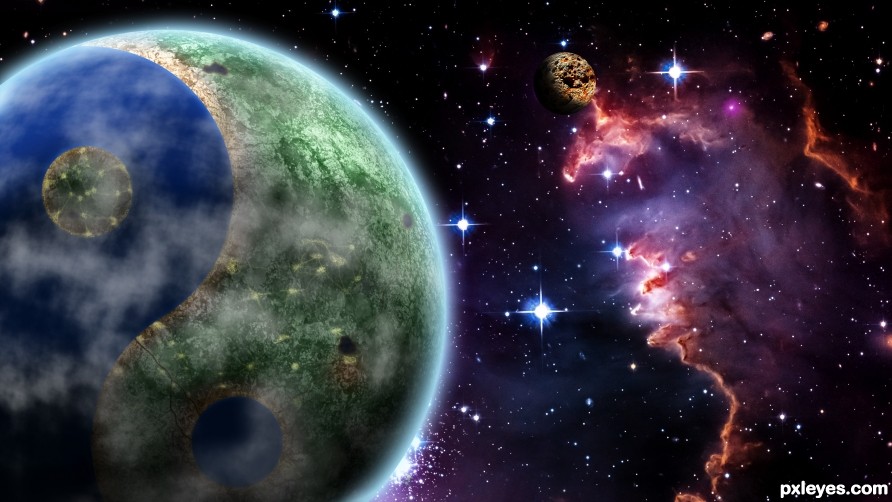
Final result

Creation of Yin yang planet: Final Result

LOGIN or REGISTER FOR FREE
to rate this guide and create your own guides.