(5 years and 3657 days ago)
1 Source:
- 1: source1
Steampunk Girl 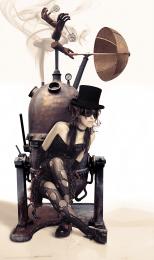 by solkee 18224 views - final score: 67.1% | Balanced by sadness 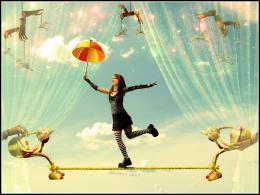 by Lelaina 14709 views - final score: 61.9% | Master Puppet  by UPGRADE 11965 views - final score: 59.8% |
Supersonic sunbath 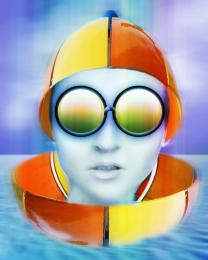 by siderismaris 10126 views - final score: 57.8% | Rain  by vinji 9690 views - final score: 57.4% | when? 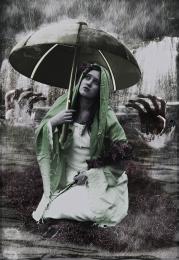 by rakib888 4364 views - final score: 56.9% |
Hand full of hapiness 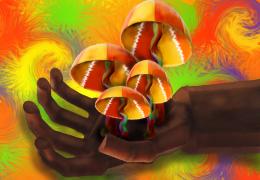 by jadedink 5302 views - final score: 54.9% | Desert 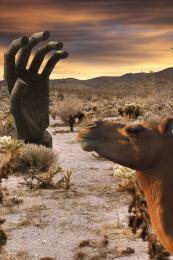 by vinji 4541 views - final score: 53.8% | Umbrelerated 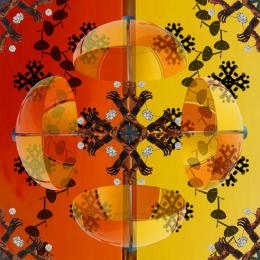 by jawshoewhah 3682 views - final score: 53.7% |
Capturing the Taste of.... 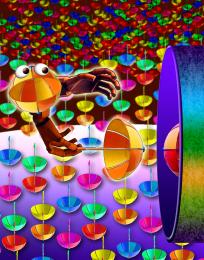 by Drivenslush 5032 views - final score: 53.6% | Said the Spider to the fly 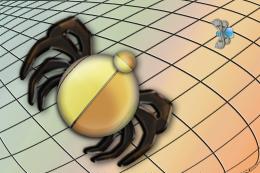 by dollmommy 6701 views - final score: 52.1% | Multitasking 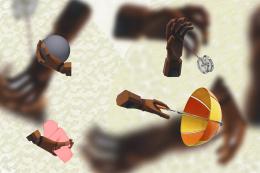 by kevinice95 3528 views - final score: 51.1% |
Reach to hope 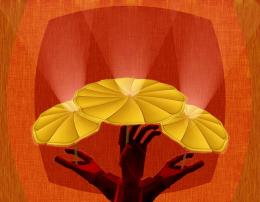 by hazem 5223 views - final score: 51% | Blue... Sky 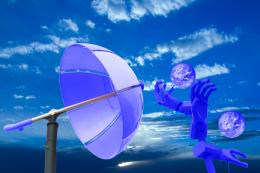 by dinomario10 7423 views - final score: 50.8% |
Howdie Guest!
You need to be logged in to rate this entry and participate in the contests!
LOGIN HERE or REGISTER FOR FREE
Nice image but a SBS or explanation would be helpful to know how it was created.
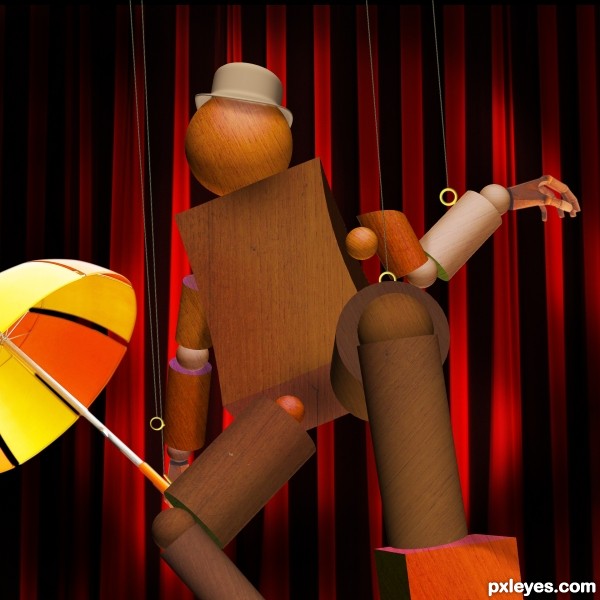
this image was created in CS4's 3D engine. My puppet is comprised of speres, cylinders, and cubes. The rings were created using the eliptical paths then connect to the strings that were made with the pen tool. the hat is also a shape out of the 3D engine in CS4. When working with the 3D engine to save your computers ram you should rasterize each shape before you began to work with the next one... The hands and umbrella were added using conventional blending methods.
I would add SBS but I dont know how...
Very nice work....if you would like to add a sbs, go to your stuff, contests, then click on add sbs under your image. Adding sbs will show people just how they can implement the techniques that you used to create this entry. Look through others entries and you will get the idea. GL
yes I understand but can someone explain how everyone gets the still shotsof their computer screen uploaded?
alt+print screen will copy it, then paste it into a new image with ctrl+v or just edit, then paste. the sbs will be nice to see. GL on your entry!
thanks i'll do that now...
Another suggestion: you can do your sbs WHILE you do your work on PS, saving each path as low res JPEG in a folder called "SBS of...", for example, using the option "save as". That's the way I do... GL!
Great job filling out your step by step, really helpful. Good tips from everyone as well! A fun image with a good step by step!
wow. your sbs was very informative! thanks so much. and your entry is great. nice use of the source!
good job... now he wants to be a REAL boy
funny
amazing work author
great entry! good luck author
awesome ! very well done
Good.
Congrats for your third place, Upgrade!
Congratulations for 3rd
congratulation !
Congrats!
Congrats for third, well done.
Congrats!!
Congratulations!!!
Thank you all
Howdie stranger!
If you want to rate this picture or participate in this contest, just:
LOGIN HERE or REGISTER FOR FREE