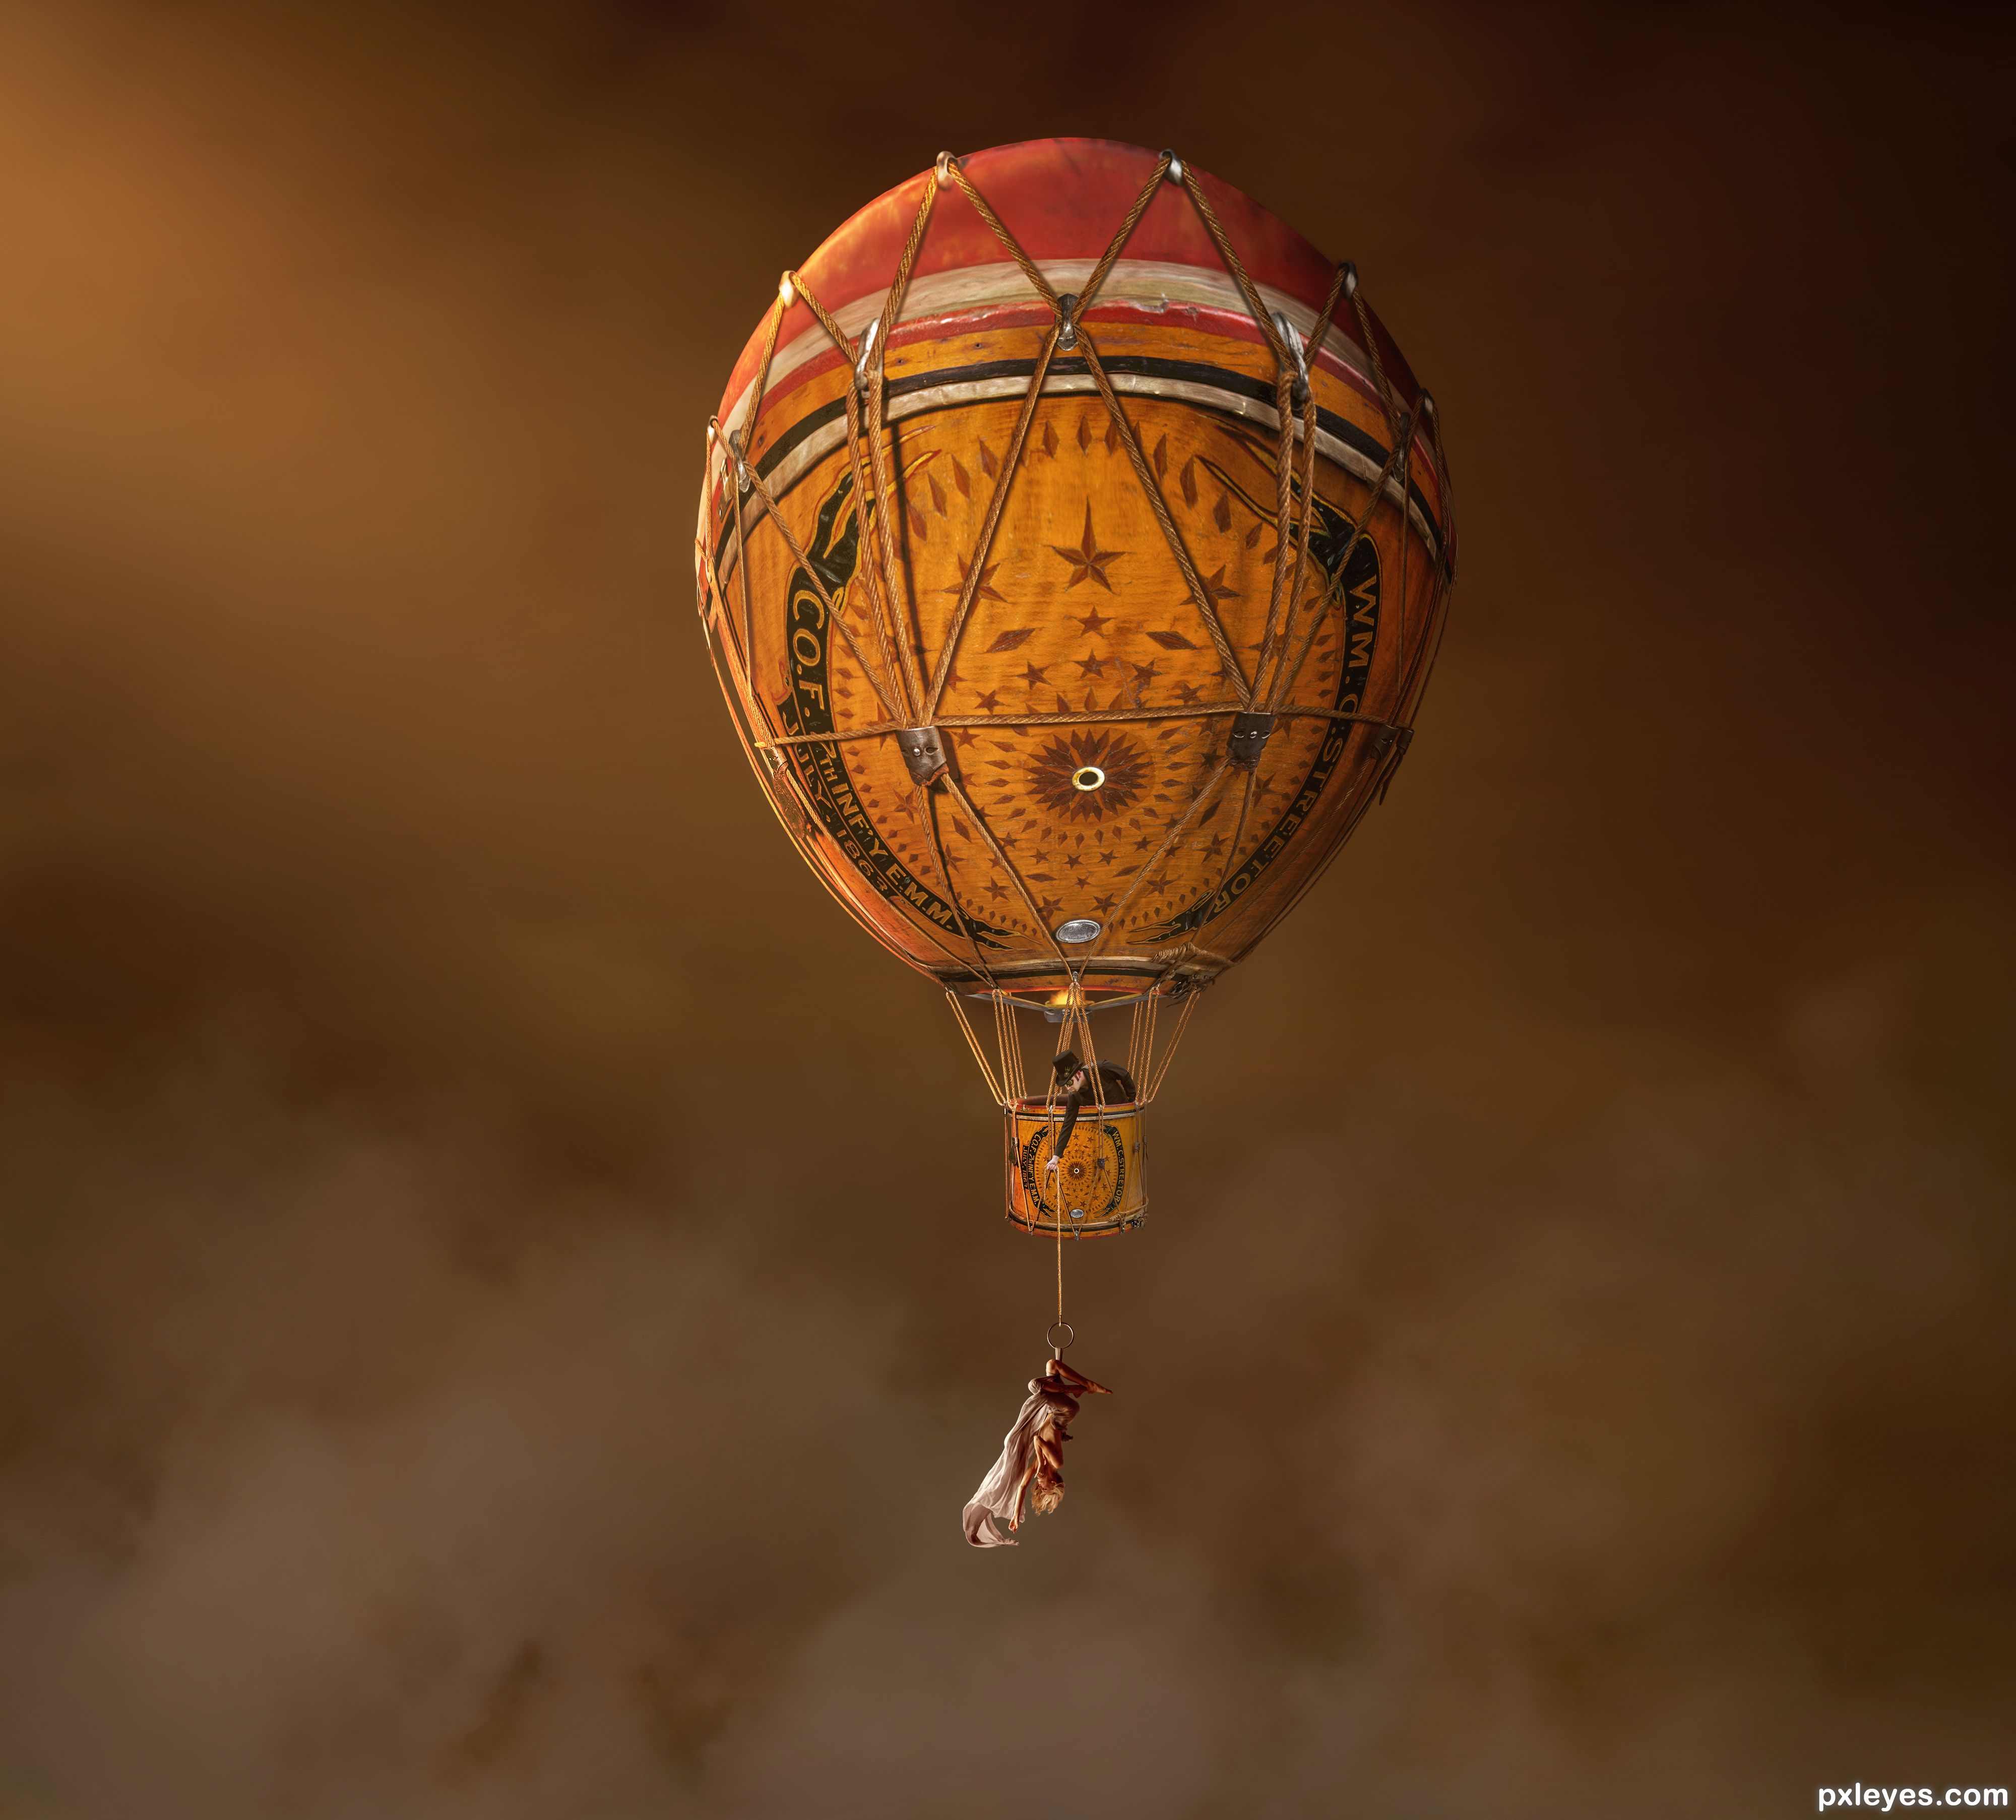
Balloon made entirely from the drum. Lots of Warp and Copy/Paste. Used PS's built in Flame Filter for the fire. Painted clouds with a custom brush using Brush Settings. Added man and woman. (5 years and 655 days ago)
2 Sources:
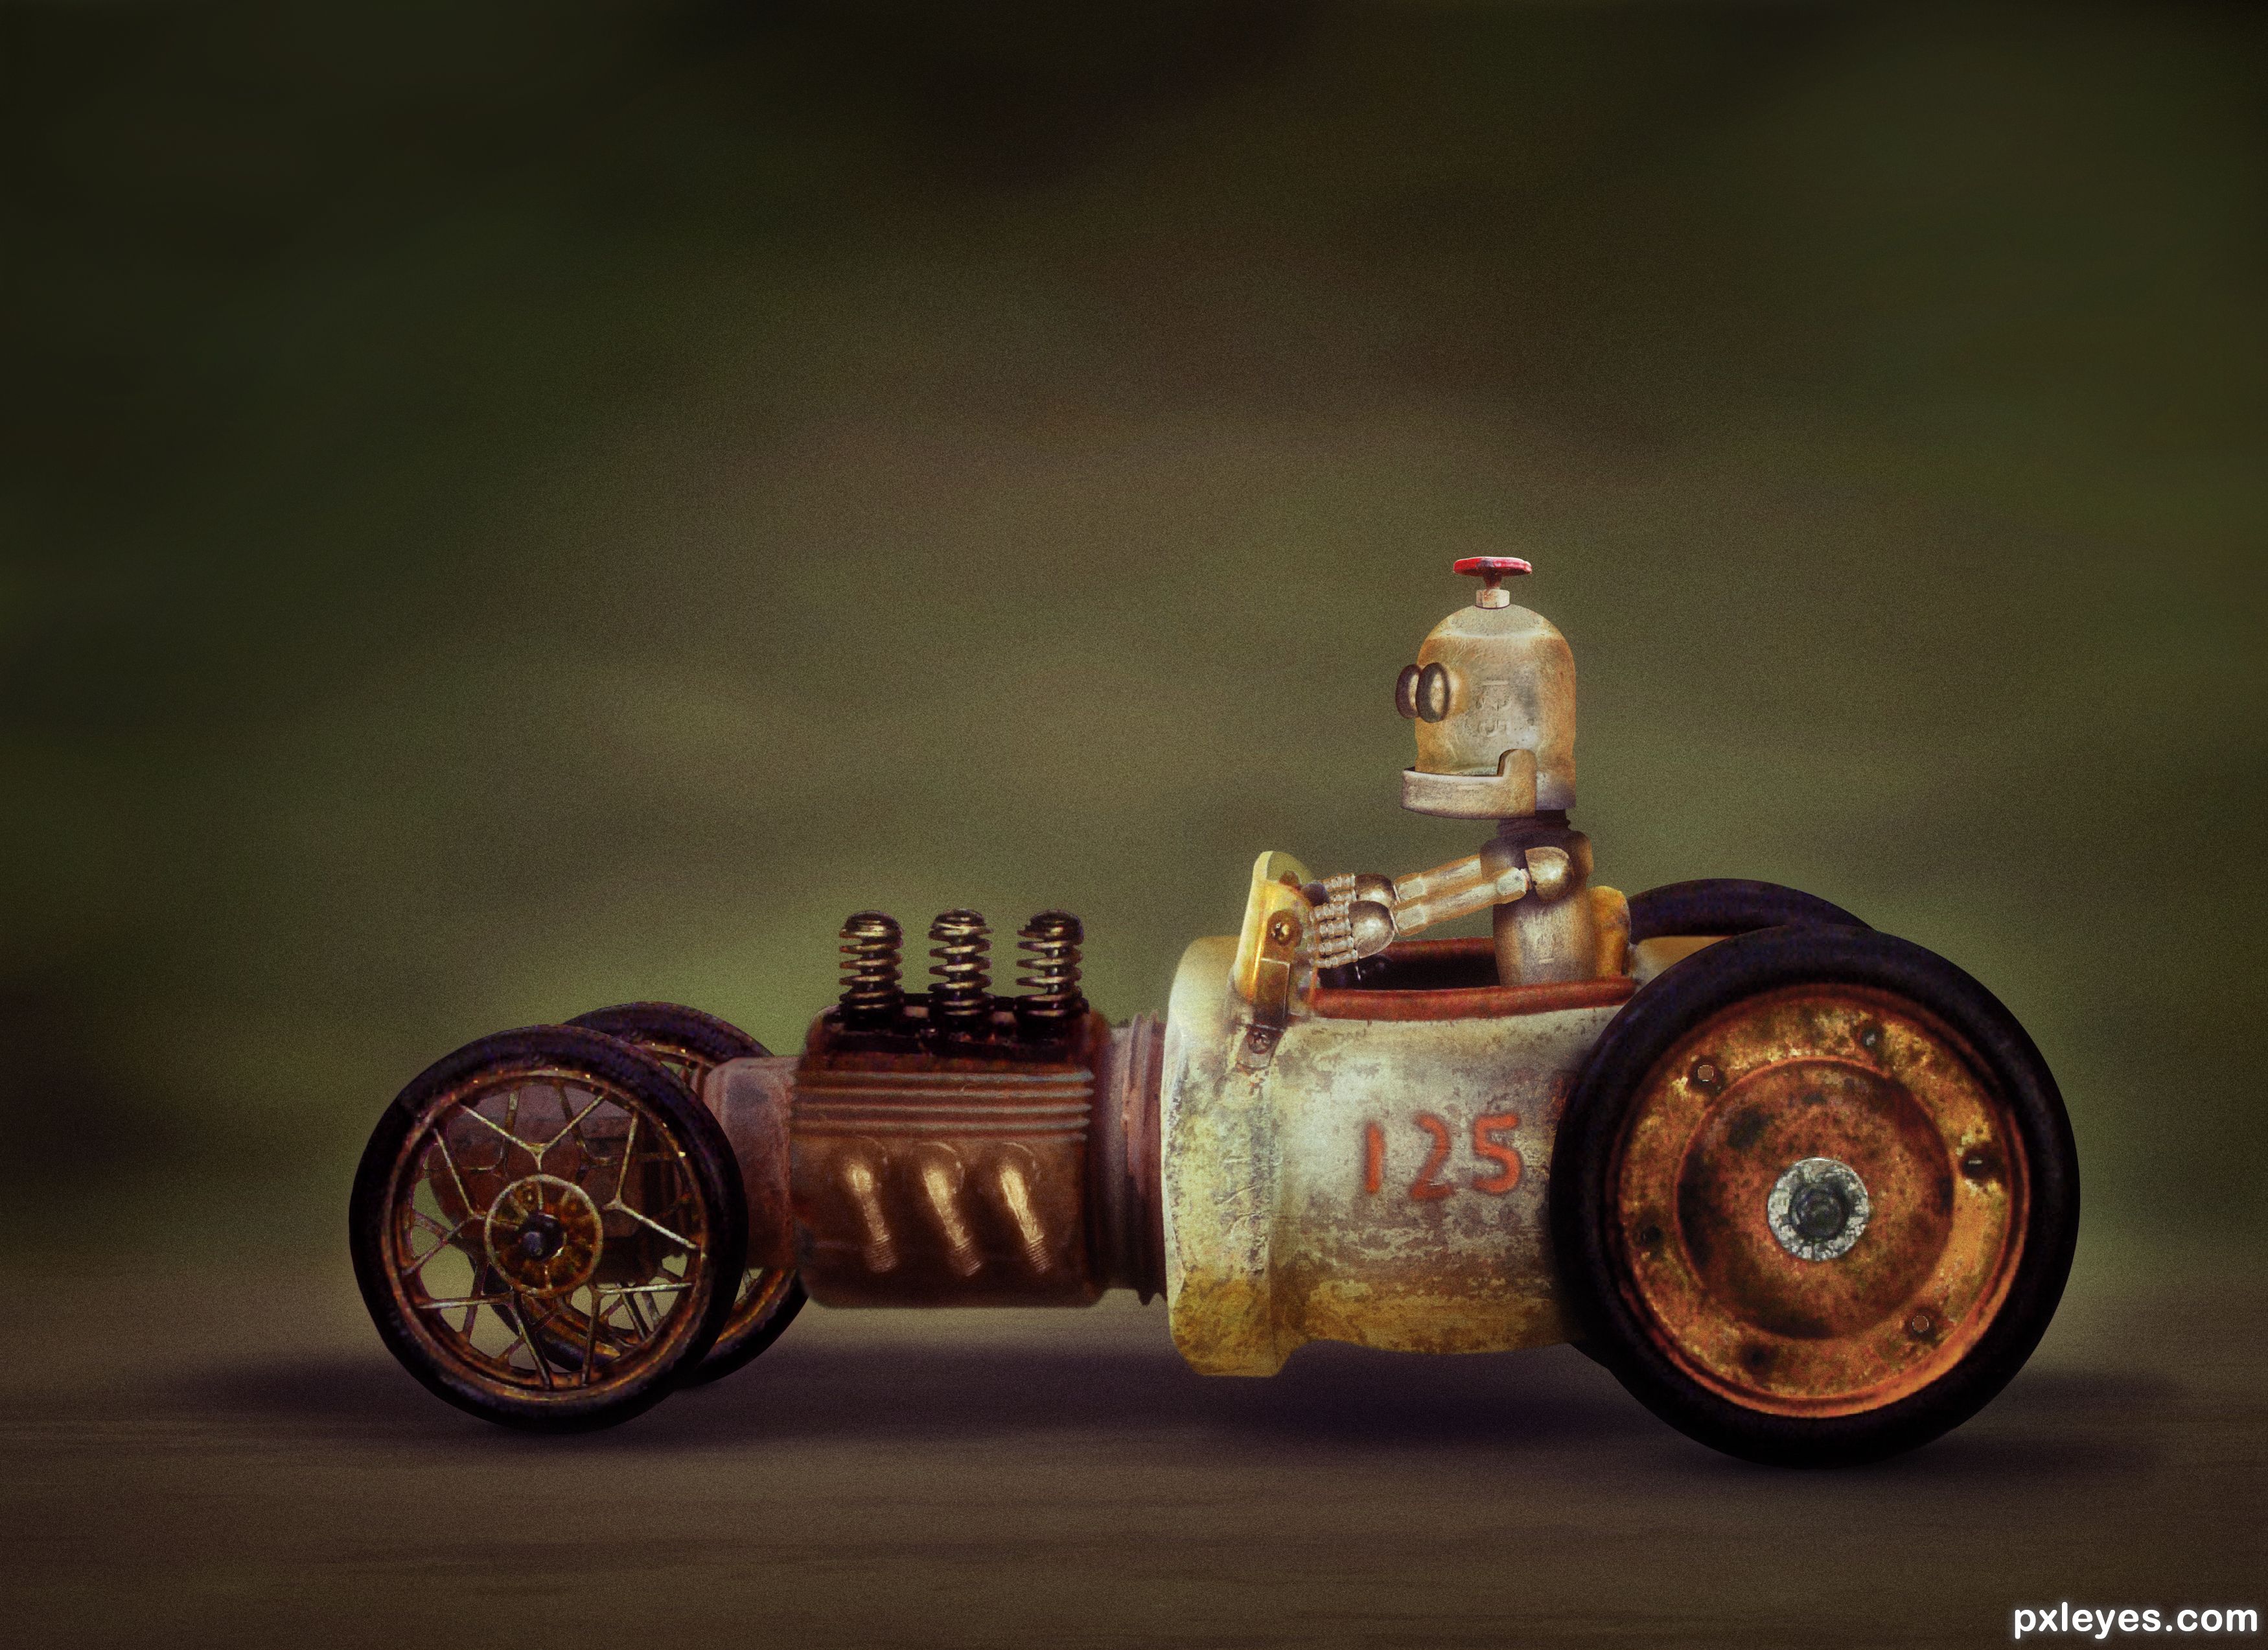
All source except for the wheels, seat, engine springs and exhaust. Even the Robot was created entirely from source. See SBS (5 years and 721 days ago)
Great, love his face! 
Thanks CM. Simple but effective.
Sigh, I have just spent the last 10 minutes reading and thinking about your SBS, simply mind-boggling and the end result is just incredible. I have recently been educated by a master chop and photoshop manipulator on some of the finer things to look for when reviewing work on this side of pxyleyes. Your shadows are realistic, your blending is splendid your SBS is educational and dear author, you get high points from me. THANK YOU for being here.
A question: How do you make your work look like it is NOT PASTED ON. When I do PS my stuff looks pasted on. Thanks
That is a very difficult question. This Chop had some difficulties but also had some good things going for it. The main problem was the car external source was underexposed, and had lot of lost detail. Due to loss of detail, I probably could not "lighten" the car parts to match the source pipes, so I decided to darken the "source" pipes to match the car parts. You can see this in the engine block, the heat-fin thingy, and the front end part in steps 7, 8, and 9. Color Match worked good as a start (which took a bit of finagling) and then some lighting/color adjustments to dial it in.
Cutting things out properly is vital too. I generally use a 1px feather when cutting things out but sometimes that is greater or even much much much greater. The enemy is a "hard edged cut out" that looks like a cut out. If the 1px feather doesn't look good you can always re-mask and re-feather it as you already have your "base-line" cut out. Also cleaning the edges from **ANY** fringing, to me, is key. Even something minor like these "yuckies" on this spring should be taken out IMO https://image.ibb.co/dn0nr8/springs.gif. This is rather easy to do. Clip a layer on top of the springs. Sometimes I use Multiply, Hard Light, Overlay, but this time I kept it at a Normal Layer. Then just clone in some matching color from the springs to cover the yuckies and it will lessen that "cut out look".
Also when blending something in, remember that you do not always have to use a 100% brush while masking. A lot of the time it's best to use a lower opacity soft brush (22%-44% in my opinion but u can go higher or lower if needed) and just keep brushing from the outside to the inside which will create sort of a feathered mask. It takes time, but your blend can come out WAY better. Don't forget you can change the hardness of your brush so sometimes a harder brush will do better, but this is not usual.
Get used to your Pen Tool when cutting something out and make sure you can set your mouse/tablet to a lower DPI to make it move slower when using a Lasso or even while painting/masking. Use Smart Objects when you can, and also use Clipping Mask layer adjustments. You shuold almost NEVER work destructively.
Beyond that the brightness and color should matching, which is a whole 'nother ball game. Sometimes you may even have a bright/dark "spot" on something that needs to be taken care of, so that will have to be masked (generally with soft feather)and adjusted accordingly.
Proper shadowing or lightening of areas is also vital. A lot of the times you should use several layers when making a shadow. Make a darker one on top (this one will generally be smaller in size), and get lighter and lighter towards the bottom layers (these I generally make larger and lager). You want to do it this way because if you put the lighter shadow layers on top of the darker one, it may make the dark shadow layer TOO dark. You can change your brush shape with F5, so a lot of the times it's best to use an "oval" brush when doing this.
I'm probably missing a million things, but these are the ones that popped into my head while sitting here. Watch YouTube videos. Besides looking at other's work, it's one of the best ways to learn. Hope this helps.
"Hope this helps."
Hey, do bears fart in the forest?
YOU BETTER BELIEVE THIS HELPS. Thank you so much. I have faved this and will have it in my files to refer to, thank you again for your talent and generous heart.
Great work.
Thanks SA. It all fit together nicely. I had two final versions and basically after a coin toss, I decided on this one. The other one didn't have that "old fashioned" look but it was definitely awesome too. Sometimes nothing is good enough, but this time I had two to choose from. Not a usual situation.
You could have put both in the contest if they look different enough. You are allowed more than one in a contest.
Congratulations BWR. A well deserved win.
Mahalo seestah. My score surprised me. Didn't expect that high.
Congratulations BWR. It was the winner all along mate. 
It all came together pretty easily actually. Once I found that source car, it was destiny.
TY BTW.
Congrats on this well deserved win! 
CONGRATS FOR FIRST PLACE
Howdie stranger!
If you want to rate this picture or participate in this contest, just:
LOGIN HERE or REGISTER FOR FREE
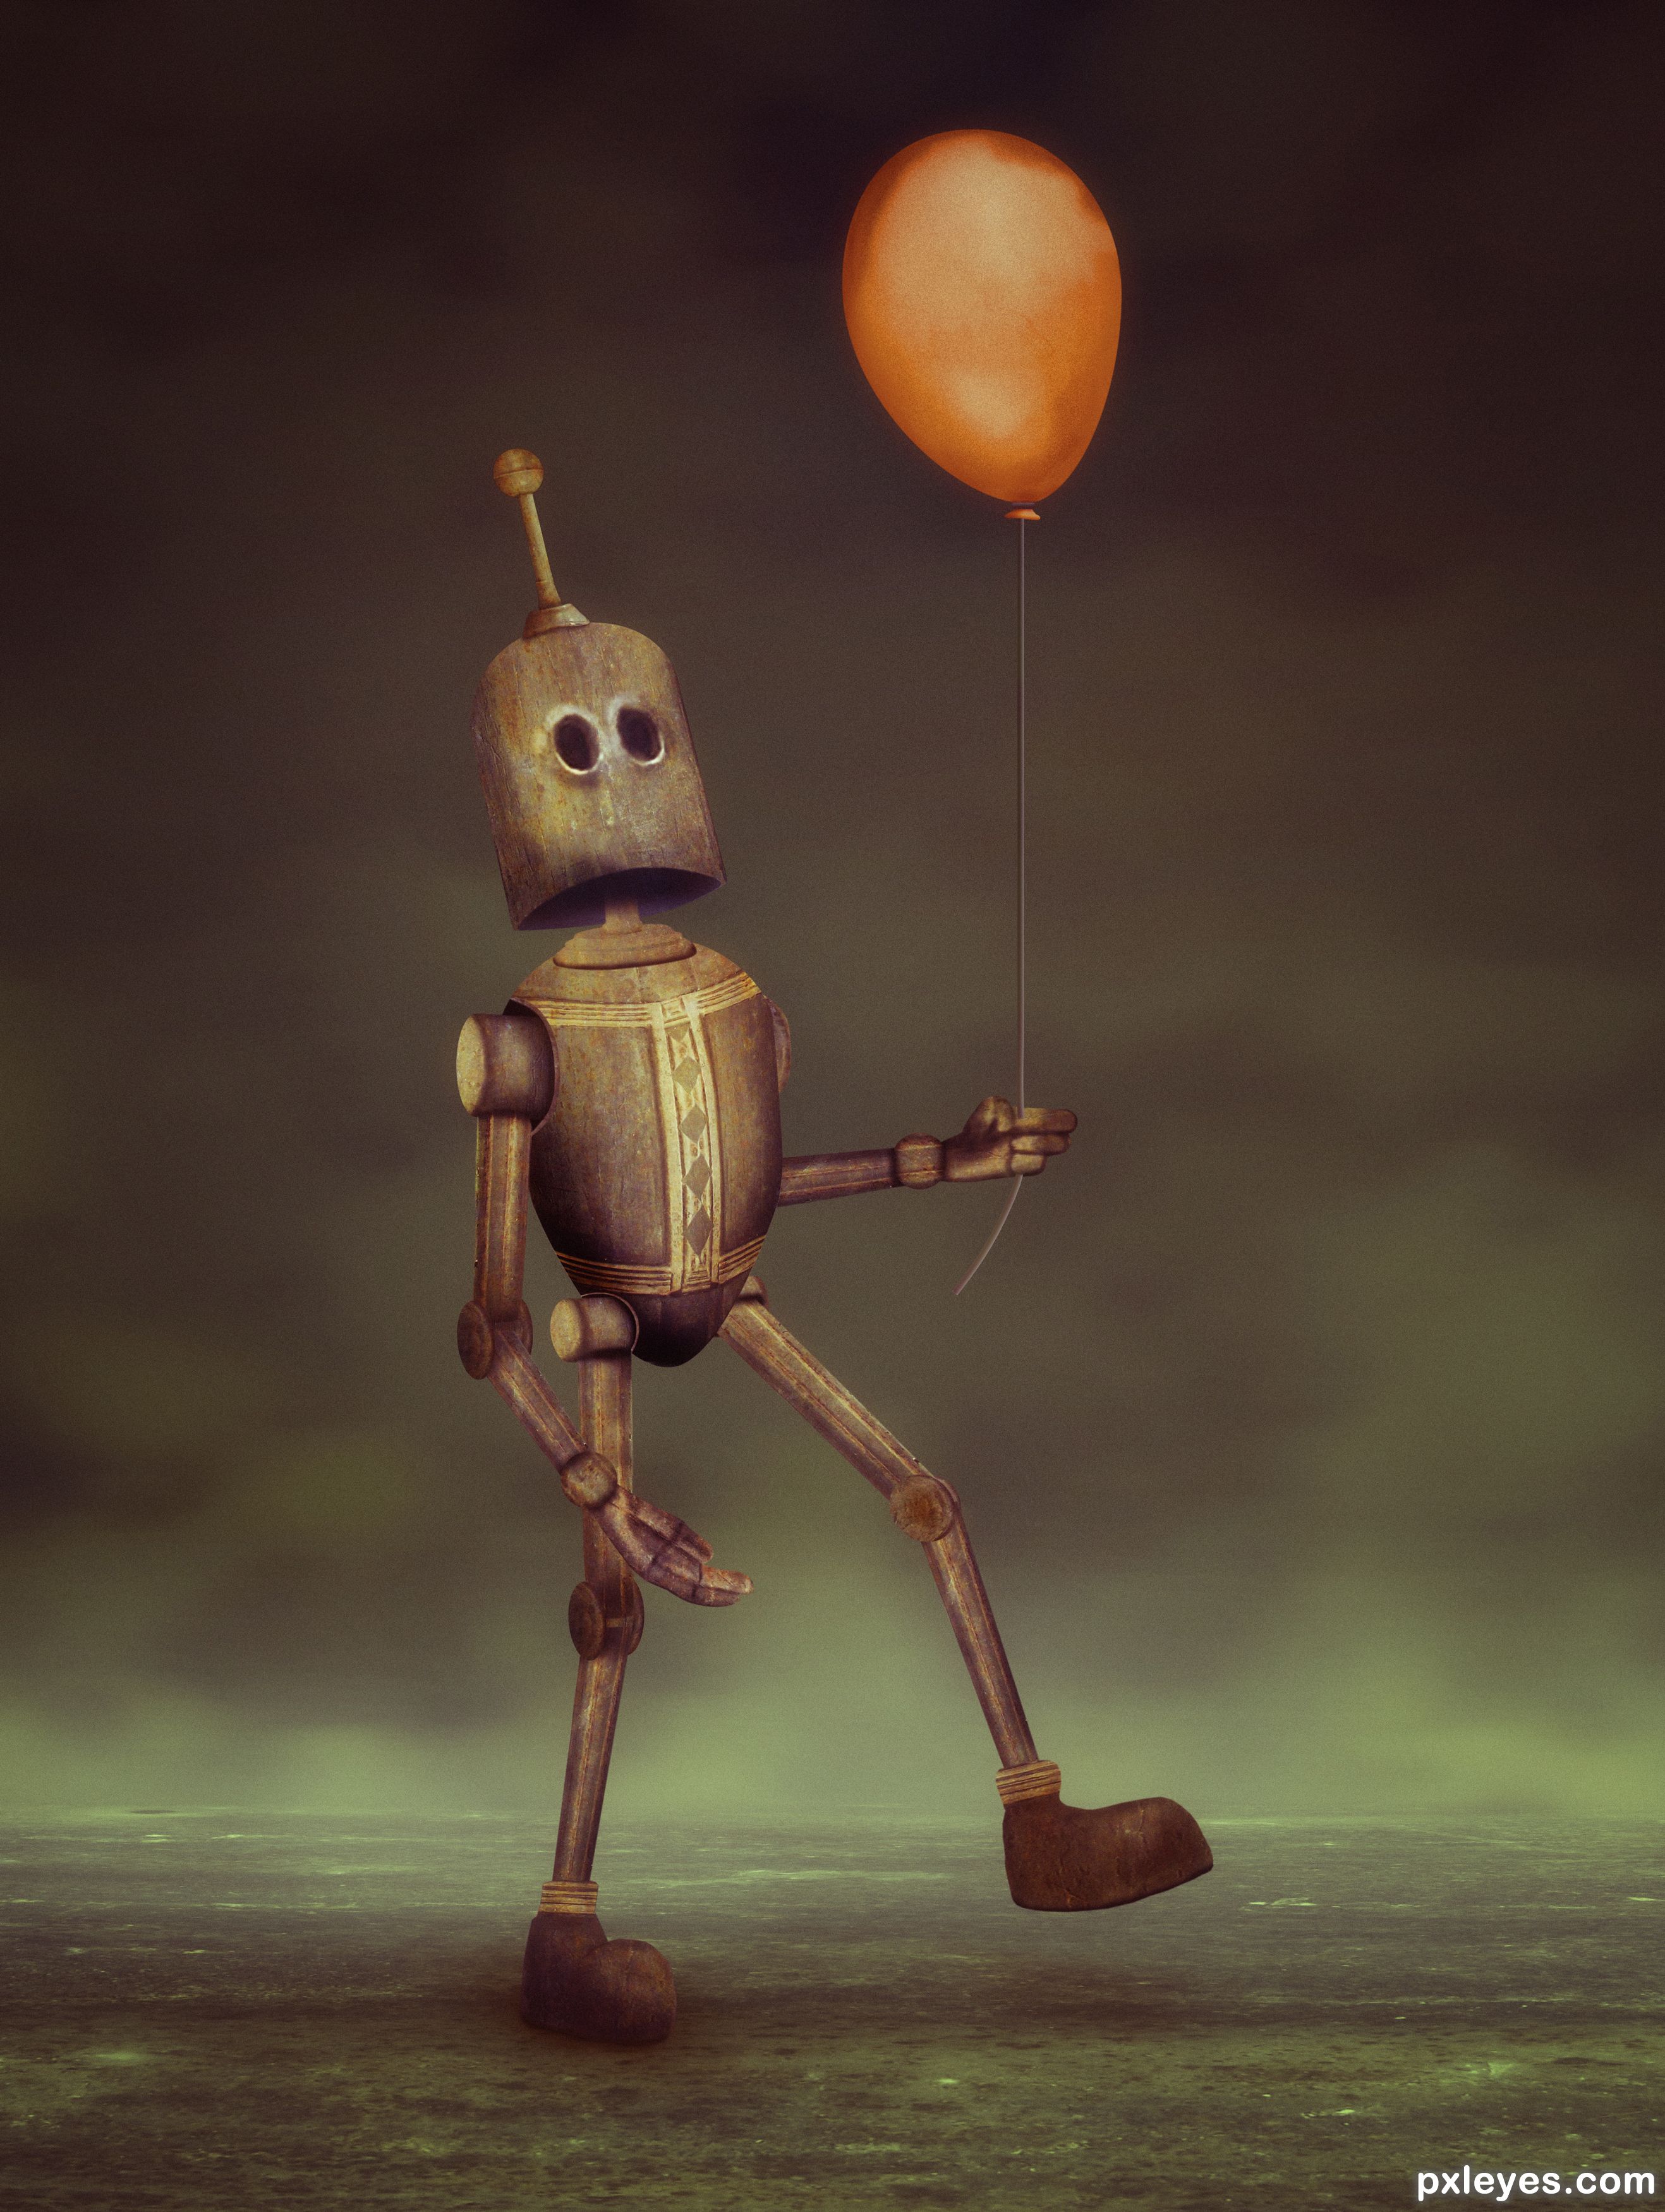
Please look at Hi-Res image. All source except the texture. (5 years and 843 days ago)
Please add the source texture to the source box so that it is hot linked.
All taken care of.
Brilliant!
Just a tiny nit pick.... There is a triangular light spot on the right hand thumb which needs cloning out.
You mean that tiny white thing? https://image.ibb.co/id8VqH/white_spot.jpg
TY. I didn't even notice that. You have eye like eagle.
Thank you
You're welcome mod. I am here to make you happy!
Unnnhhh...me LIKE this!
Me like that you like.... 
So cute and poetic! a good friend for Wall-e
Congrats BWR, fabulous
Thanks MM. Mahalo for the fav too.
Congratulations BWR. Excellent work.
Thanks SA. .3 away from that magic number haha.
Congratulations.... good job
Mahalo brother George.
 Congratulations, so deservant of this win! Magical work and great SBS explanation.
TY still26. That Chop was an adventure. The source was pretty much nothing and only a few brave souls stood up to the challenge. I tried sort of a War of the Worlds type monster which somehow started looking like a house, so I went with that until it just wasn't working. Then tried the robot with not much time left and as soon as the body, a shoulder, and part of an arm was done, it just felt right. I wanted to add a butterfly maybe on his shoe or head but I just had enough time to get it done and get it entered with a few hours to spare. 
As you well know, I LOVE LOVE LOVE the creativity shown by the artist's on this side of pxyleyes site. Also , as you most likely are aware I'm a newbie when it comes to this kind of manipulation and am so happy that there are teachers on here to guide one in the process. What I find amazing is the thought process you went through to get to the robot for y'see, I lack in a thought process but can see it is an evolution of ideas. Your SBS I found detailed and educational and thank you for that. You can feel free to really critique my entires, I won't rip your head off and will appreciate any suggestions for improvement.
OK you asked for it. I will critique the heck outa your chops haha.
Yes, please do but I am traveling now, am in Sri Lanka until June but will definitely try some chops. I also find Skyangel and Zizounai great teachers.
Congrats my friend fantabulously wonderful this is.
Congrats for first place !
Howdie stranger!
If you want to rate this picture or participate in this contest, just:
LOGIN HERE or REGISTER FOR FREE
(5 years and 942 days ago)
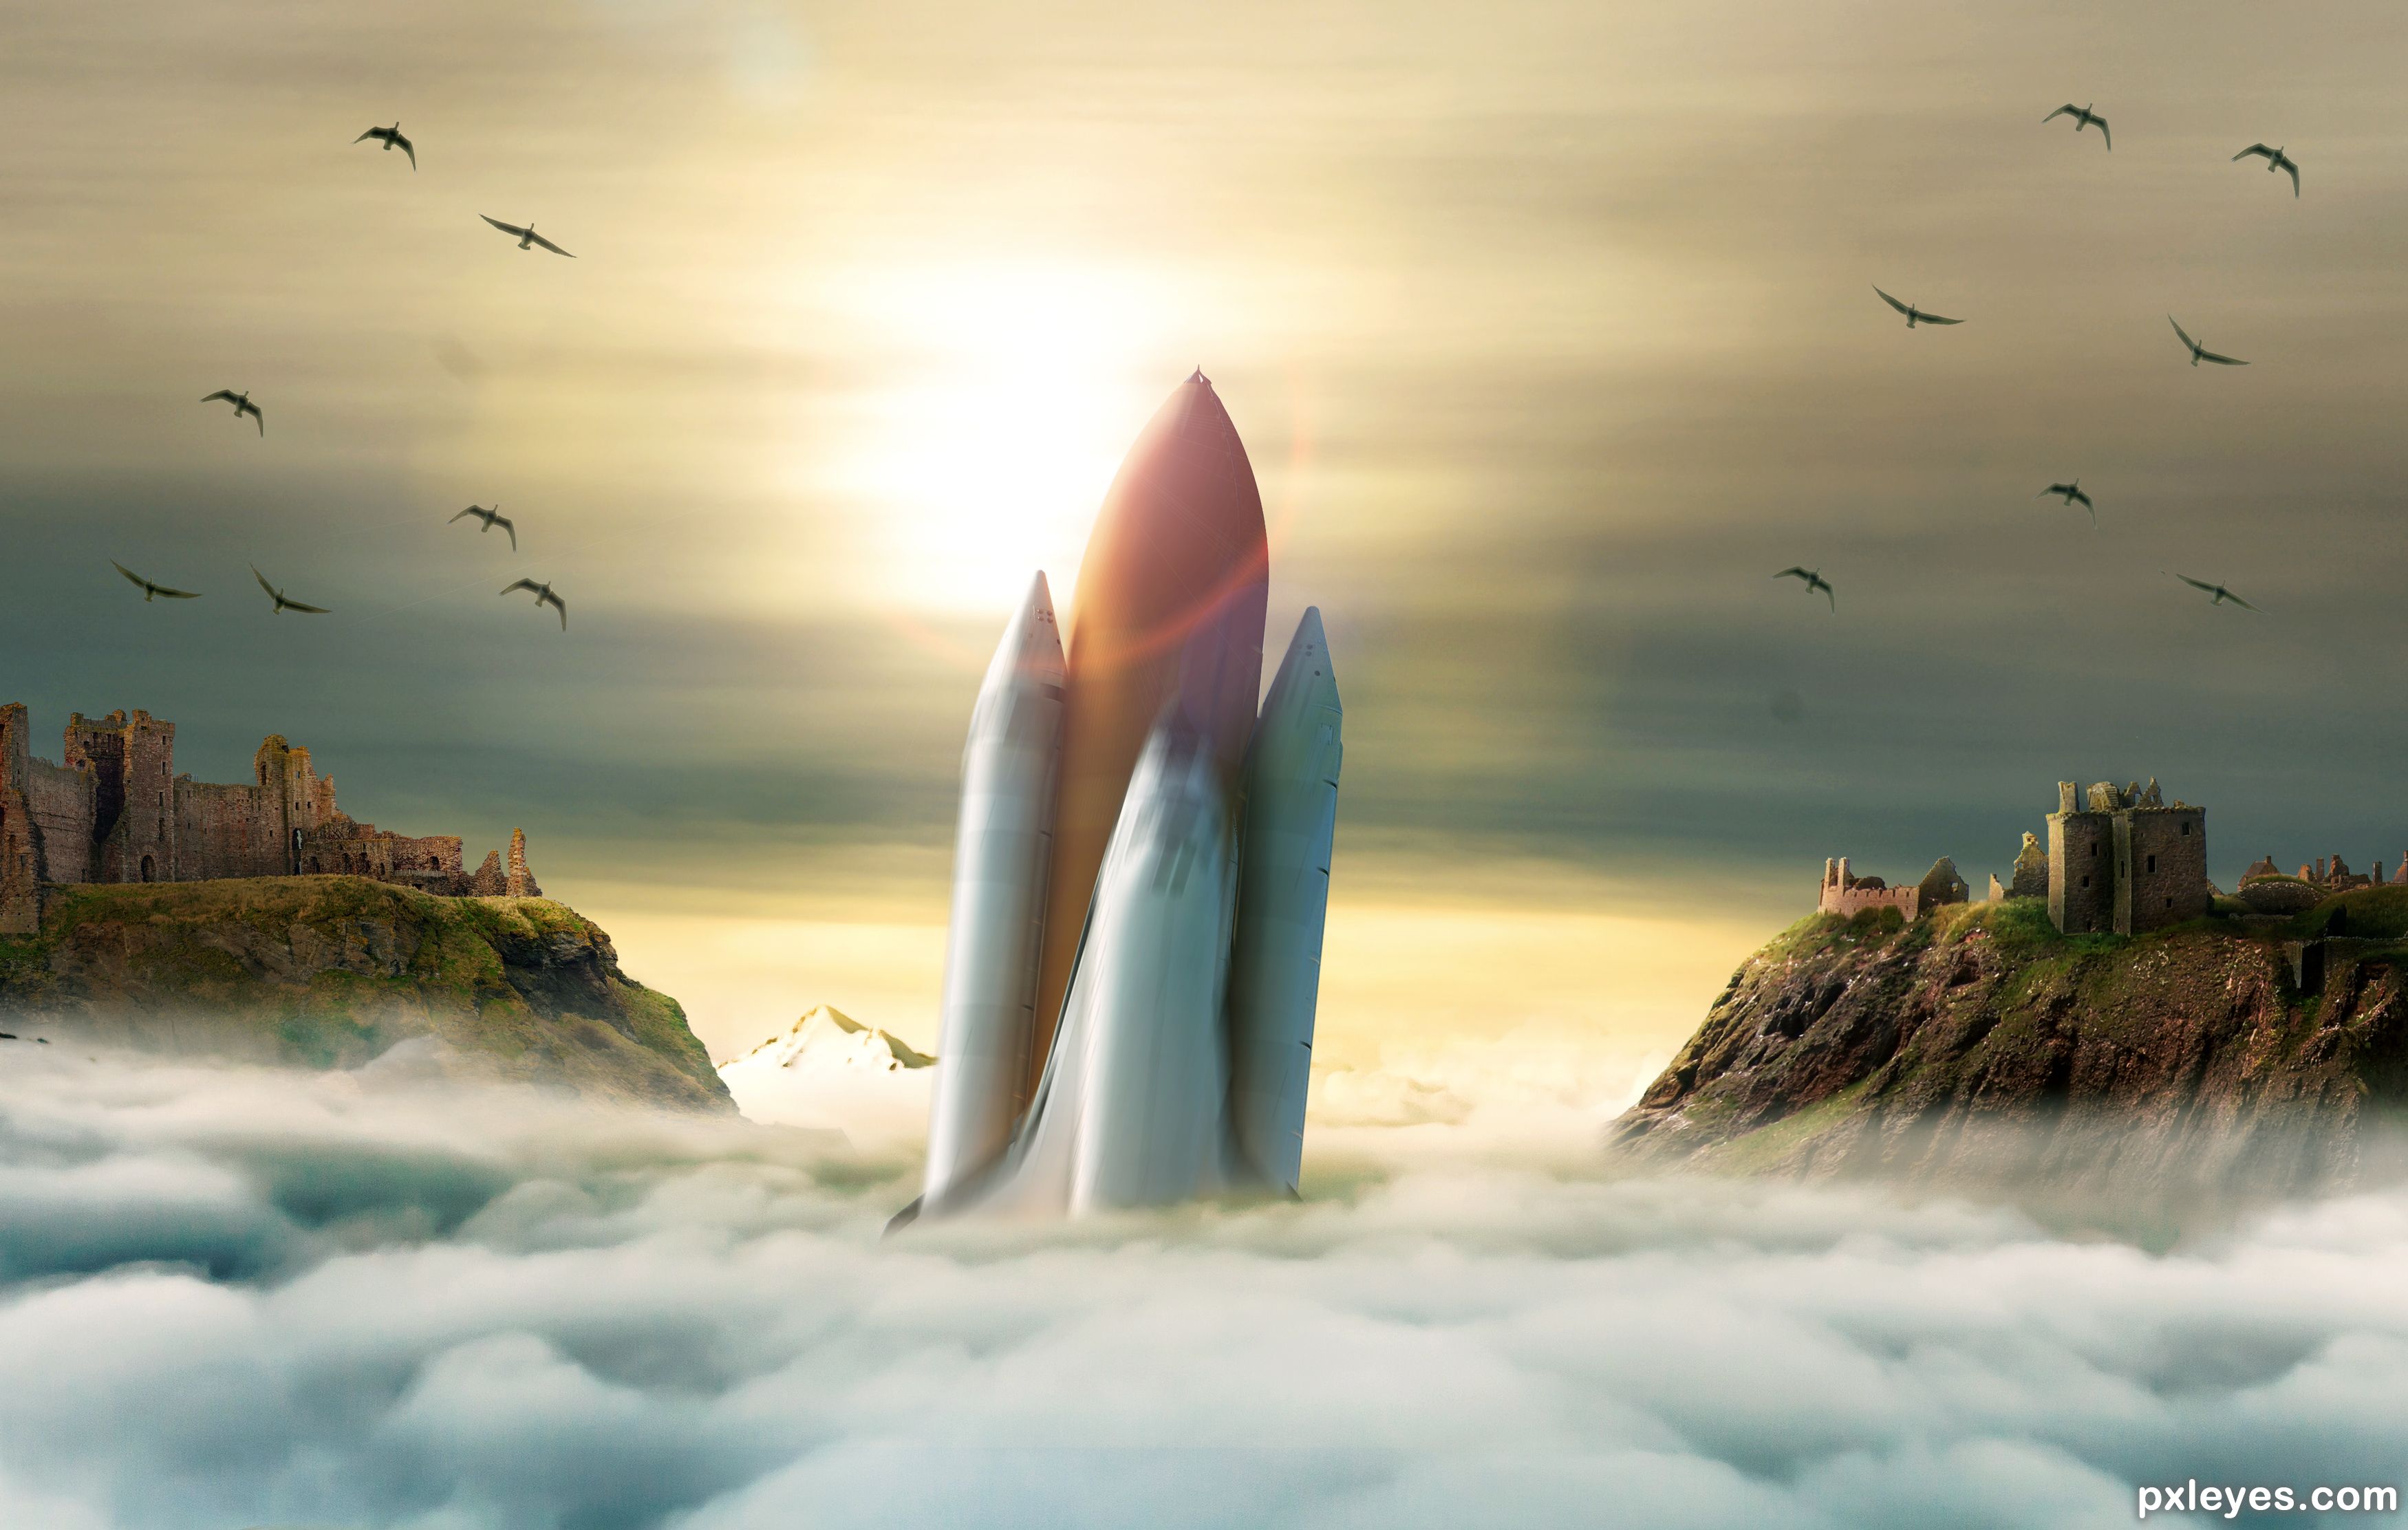
Sources 2 & 3 the castles are the same, please fix this.
Got it fixed. Thanks.
Mods = https://missamaryah.files.wordpress.com/2012/07/istock_000012149522small.jpg
LOL... thank you
Only one piece seems to be moving, and the wrong way, at that...
The background is still and the space Shuttle is moving up out of the clouds. Am i missing something?
Contest goal:
Your challenge in this contest is to make a subject look like it's moving, while the background remains still. The moving subject can be anything, person or object. Good luck!
There's motion blur on the shuttle itself that tells the eye it's moving down, while the fuel tanks look like they're not moving at all.
congratulations..
Howdie stranger!
If you want to rate this picture or participate in this contest, just:
LOGIN HERE or REGISTER FOR FREE
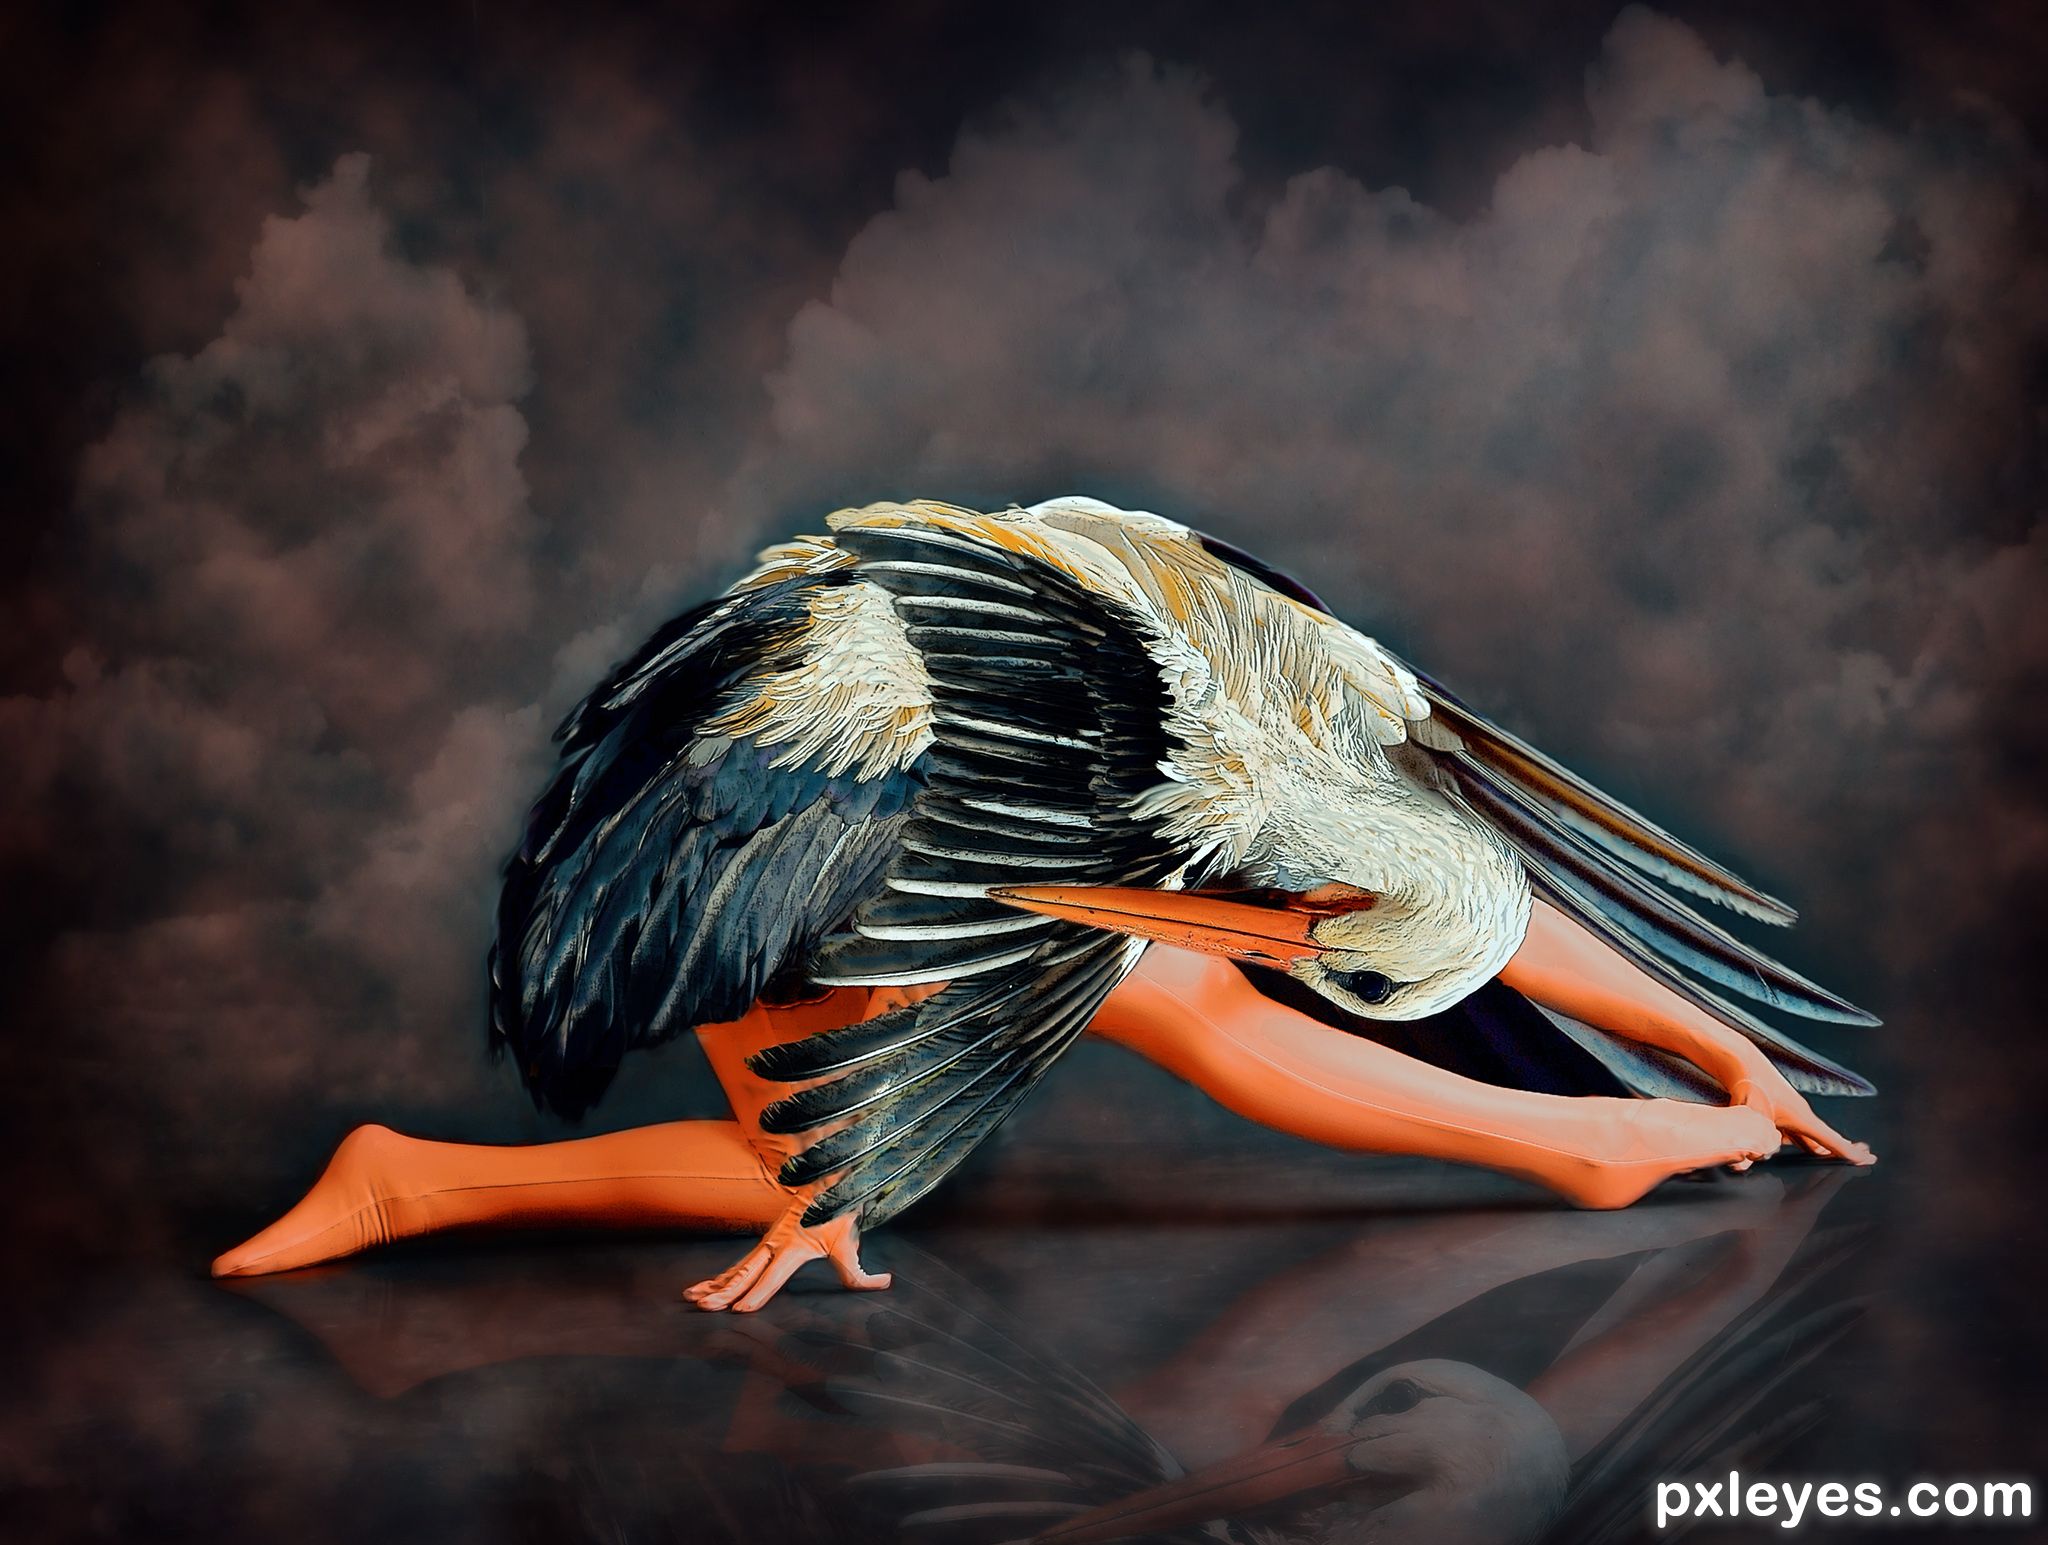
The stork was cut out in sections and each section was rotated and transformed to fit the model pose.
The wings were cut from sources 2 & 3 to make the wings that cover the arms. The merged image was copied and flipped vertically, then blended on multiply mode to create the reflection.
Another merged image was copied and filtered with the poster edges filter to enhance the edges. It was blended on 30% soft light mode.
The background was made using the render clouds filter and the other clouds were painted over it using the cloud brushes. New feathers were painted on the head area
A vignette was added to keep the viewers attention in the centre.
Enjoy the stork ballet. (5 years and 1066 days ago)
FANTASTIC
Thank you still.
DOOT DA DOOOOOOO!!!
Thank you very much.
Beautiful!
Thank you Tina.
TOTALLY SENSATIONAL
Thank you healthlink. I haven't seen your name before but I see you have been a member for a while. Anyway, welcome to Pxleyes. I look forward to seeing some of your work.
Congrats again Angel, well done
Thank you very much again.
Congrats Skyangel!
Thanks Sylvie.
HOLY GUACAMOLE I TOLD YOU SO DIDN'T I HUH, DIDN'T I. Wonderful wonderful wonderful....big congrats.
Howdie stranger!
If you want to rate this picture or participate in this contest, just:
LOGIN HERE or REGISTER FOR FREE
Photography and photoshop contests
We are a community of people with
a passion for photography, graphics and art in general.
Every day new photoshop
and photography contests are posted to compete in. We also have one weekly drawing contest
and one weekly 3D contest!
Participation is 100% free!
Just
register and get
started!
Good luck!
© 2015 Pxleyes.com. All rights reserved.


Nice one... pretty
Thank you LifetimeDamage. Glad you like it.
Congratulations. Great work as usual.
Thank you thank you SA.
Congrats B
Merci seestah.
Congrats for first place !
Thank lolu. Hope you liked it.
Howdie stranger!
If you want to rate this picture or participate in this contest, just:
LOGIN HERE or REGISTER FOR FREE